This has been the recipe I've come back to most over the last few years, and one that I've
been tweaking since 2021. It's crunchy, chewy, and chars nicely like a New Haven–style
pizza, but with a crust, fluffiness, and density similar to a New York–style.
About this recipe
This recipe was originally derived from the legendary Apizza Scholls in Portland, OR. The restaurant
occasionally posts their current recipe on Instagram, but it's for a full restaurant-size batch.
When I first developed this recipe, I used standard commercial yeast but have since adapted it
for sourdough. Both versions are provided below, but I highly recommend the sourdough version
if you have the time and a starter on hand.
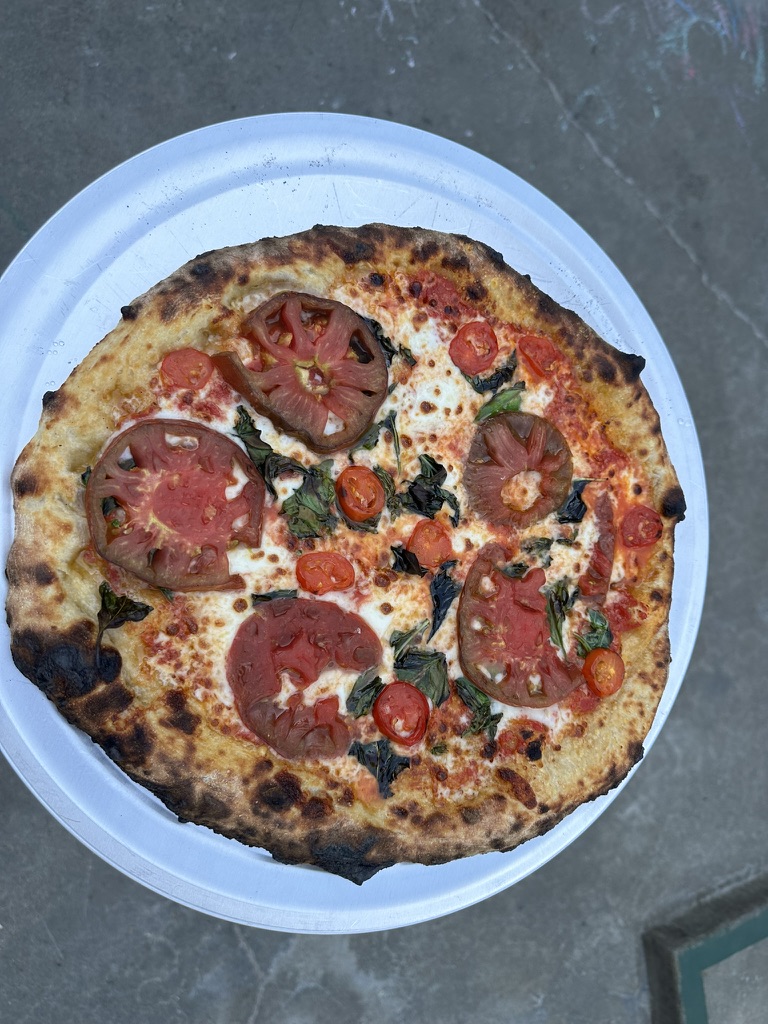
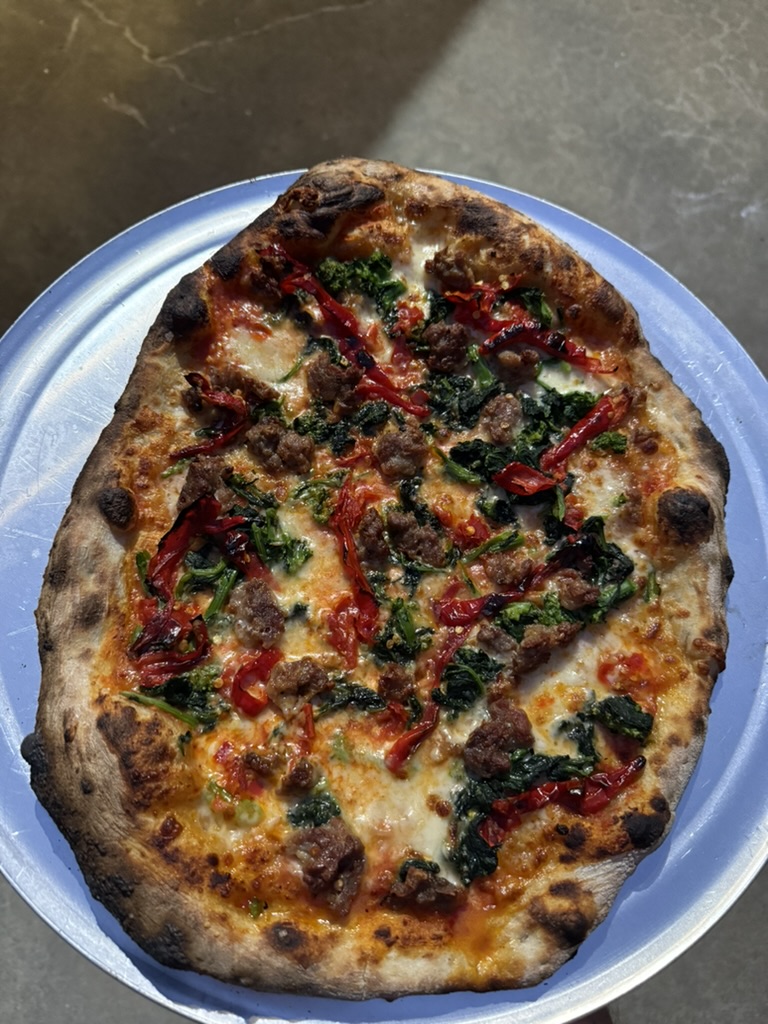
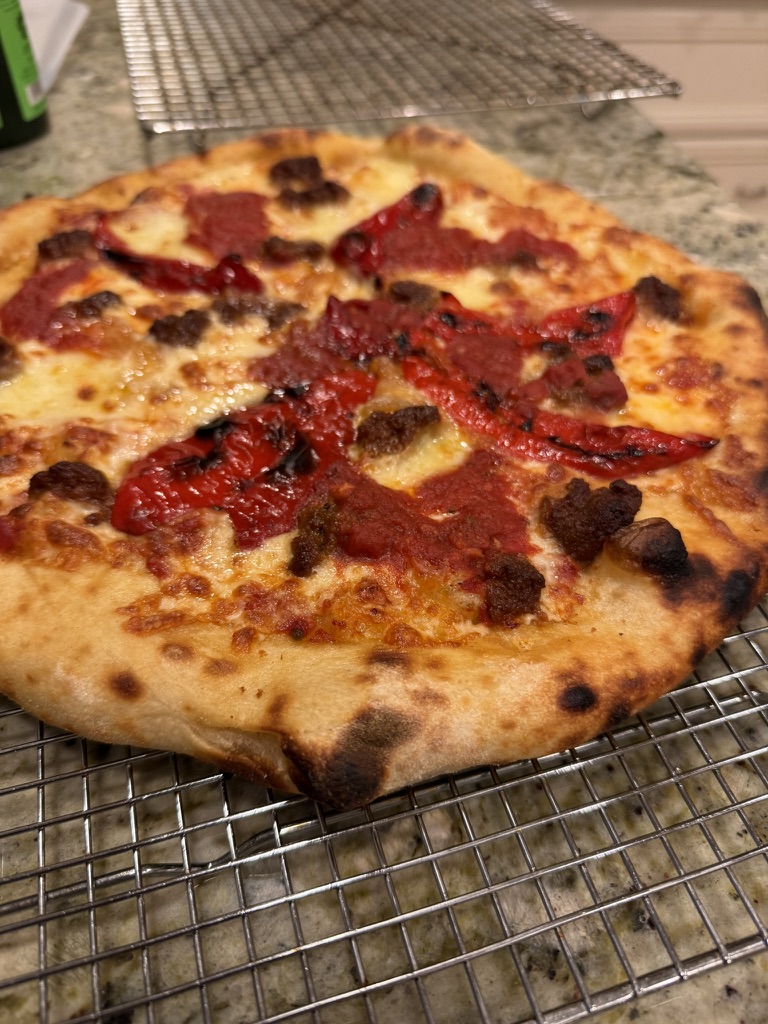
Tomato, fresh mozzarella, and basilSausage, broccoli raab, and scallionJimmy Nardello and sausage
The dough
Most New Haven pizza shops use a high-hydration dough1
in the 67–70% range, while most New York–style dough sits in the 55–60% range. With higher
hydration, New Haven dough can be tricky to work with and shape, so I lower the hydration
slightly and add a small percentage of high-gluten flour. For this recipe, I've found that
62–65% hydration is ideal for a crispy and chewy yet soft dough. Depending on the flour(s) you
choose, you may want to experiment with a slightly higher hydration than the 63% in this recipe
but I find it to be a sweet spot for most cases.
Using about 7–8% high-gluten flour helps achieve that New York–style texture, compared to a
typical all–bread flour mix found in traditional New Haven–style recipes.
Notes on flour
From my research, Apizza Scholls likely uses Keith's Best flour from Central
Milling. While you can order this online from Central Milling, they only sell 50lb bags, so I
often use Central Milling's
Organic Artisan Bakers Craft Plus Bread flour
instead. It's similar and fairly easy to find in the Bay Area (and online). I've also had good
results with
Giusto Ultimate Performer
and King Arthur Bread Flour.
Flour variations: I've explored adding small percentages of whole wheat, spelt,
rye, and bolted flours like
Cairn Spring's Trailblazer Bread Flour
with good results. These help with fermentation and add flavor to the crust. I'd recommend
starting with no more than 5%, and consider adding 10–20g of additional water since many of
these flours absorb water differently.
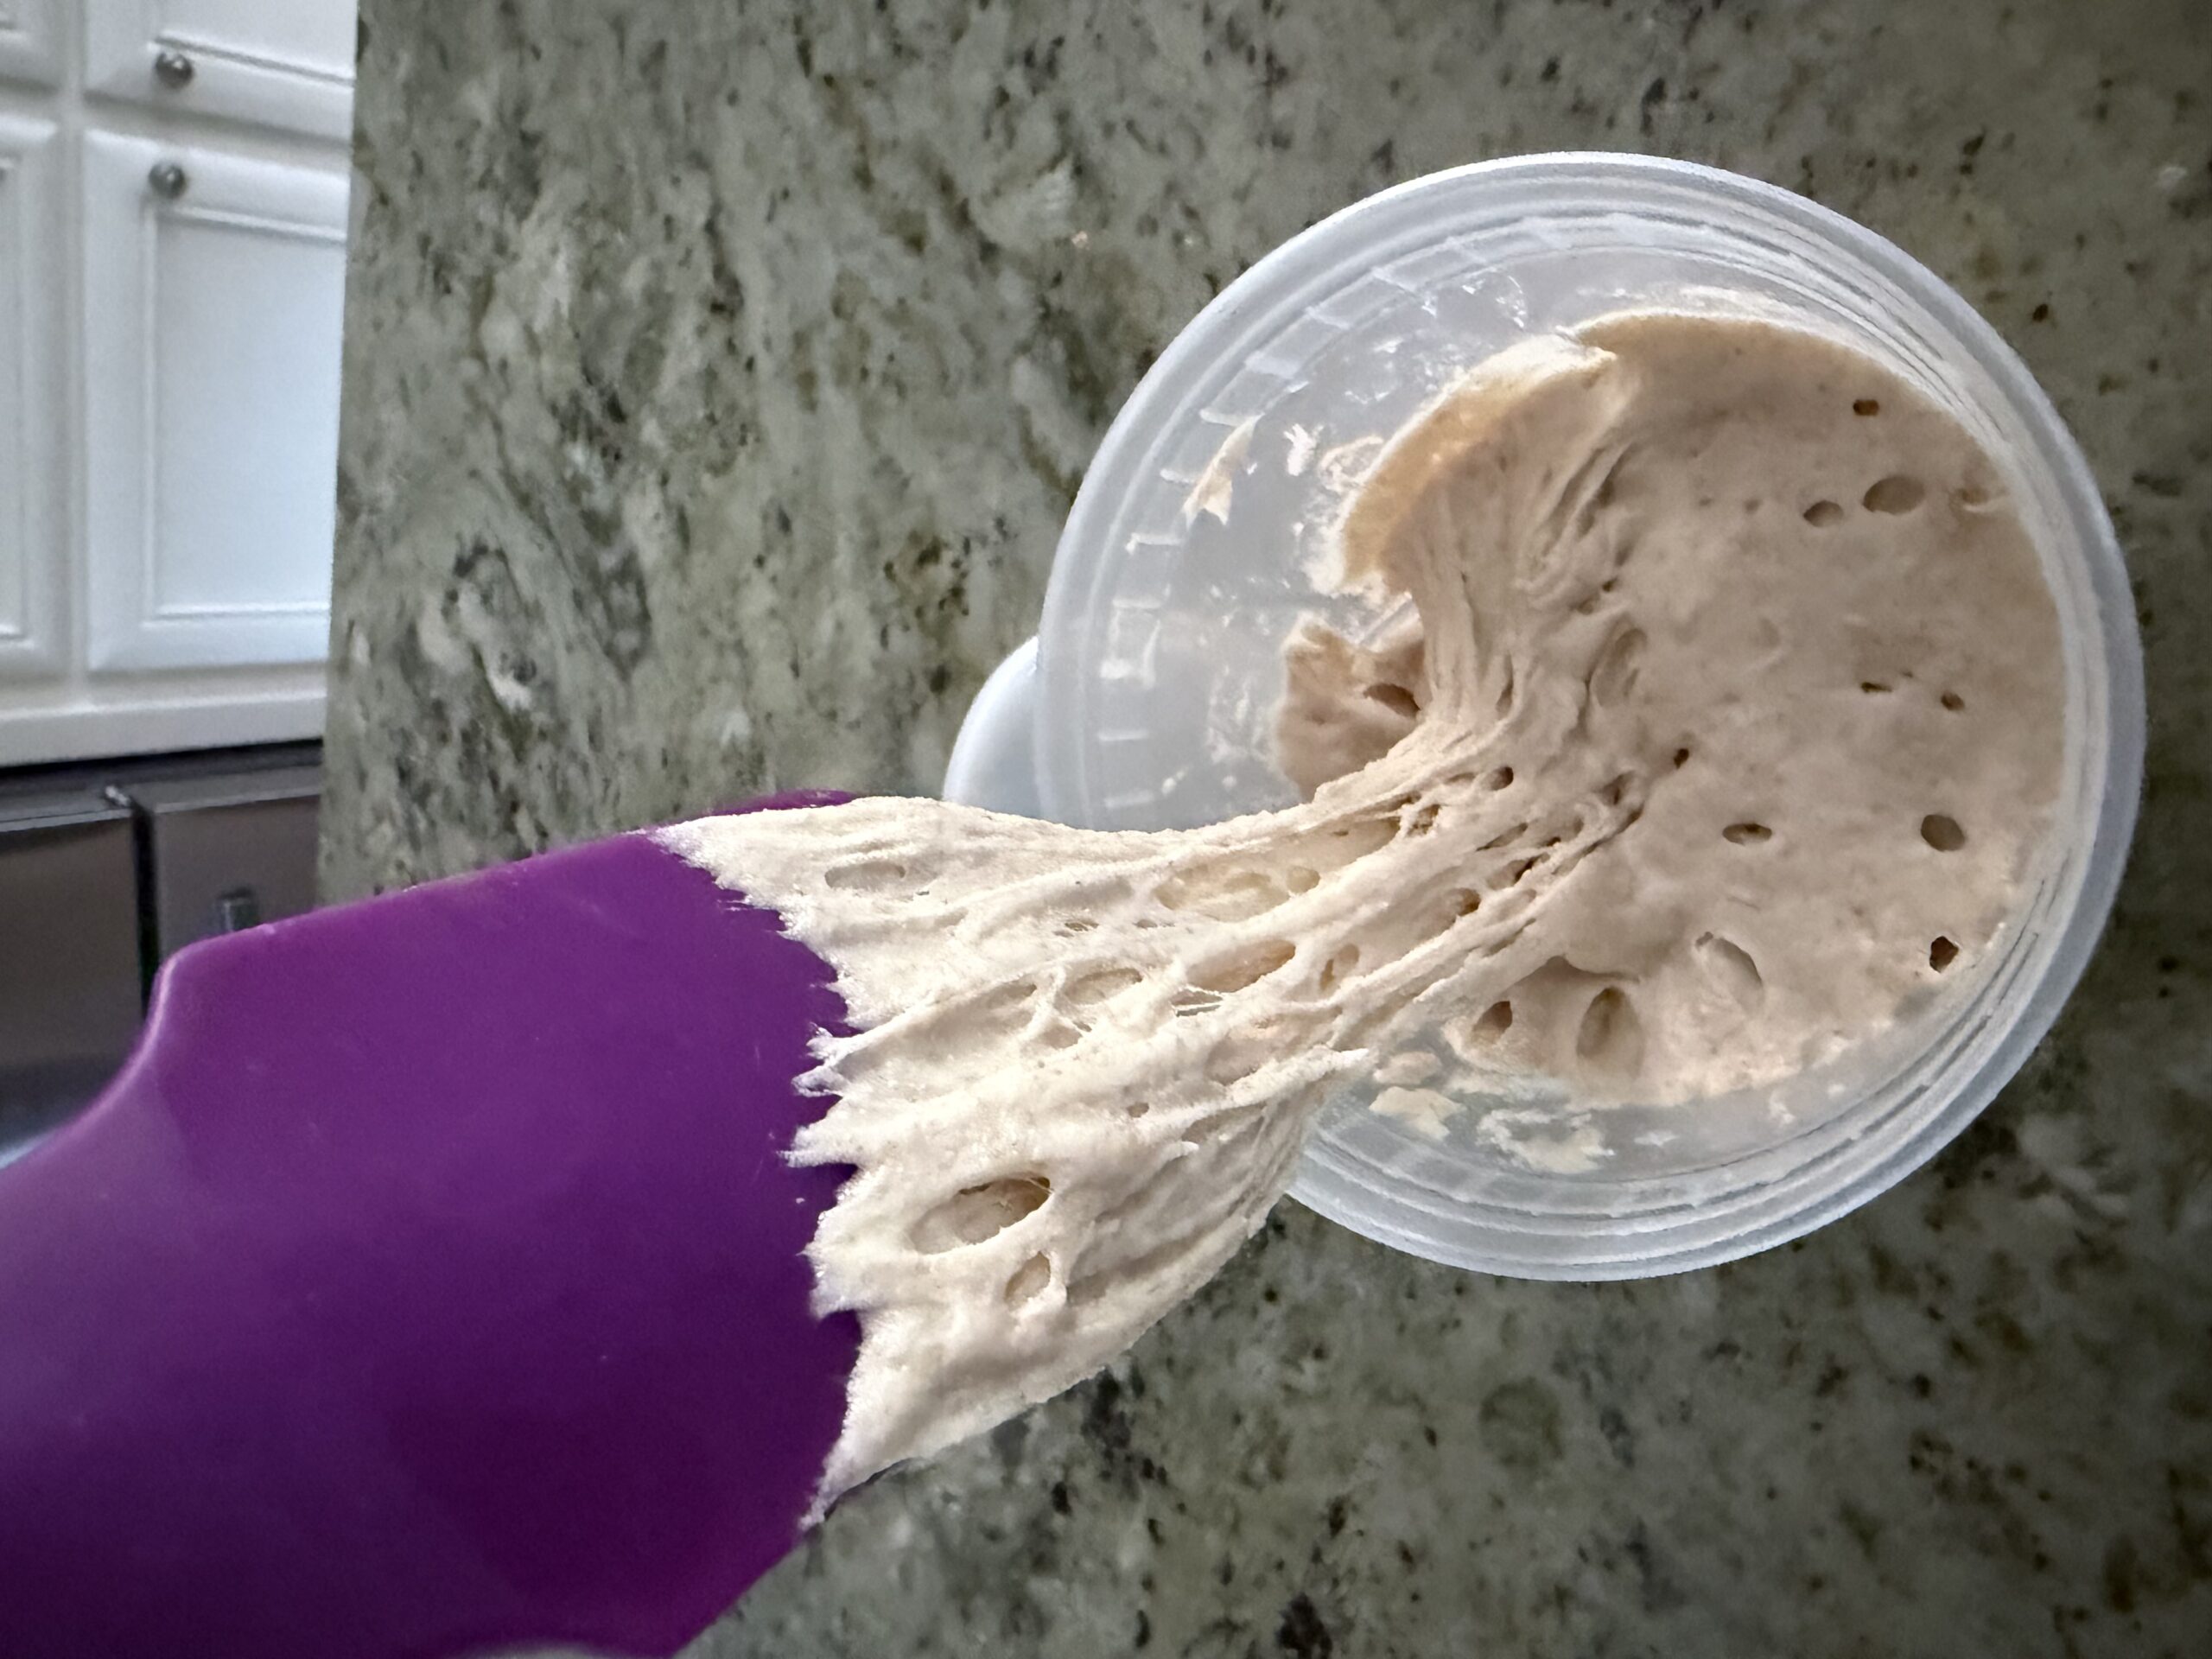
Notes on the preferment (poolish)
A poolish is a type of preferment that is typically equal parts flour and water with a small
amount of yeast or sourdough starter. In this case, the poolish is slightly thicker (~79% vs
100% hydration, based on the Apizza Scholls recipes I've found). The poolish aids in
fermentation and improves the flavor and texture of the dough. If your kitchen is warmer than
70°F, your poolish may mature faster — keep an eye on it to avoid over-fermentation.
If you don't use a poolish, just add the poolish ingredients straight into the final dough;
bulk fermentation may take a bit longer. Also, if you're using yeast instead of sourdough,
the poolish will likely take less time to develop.
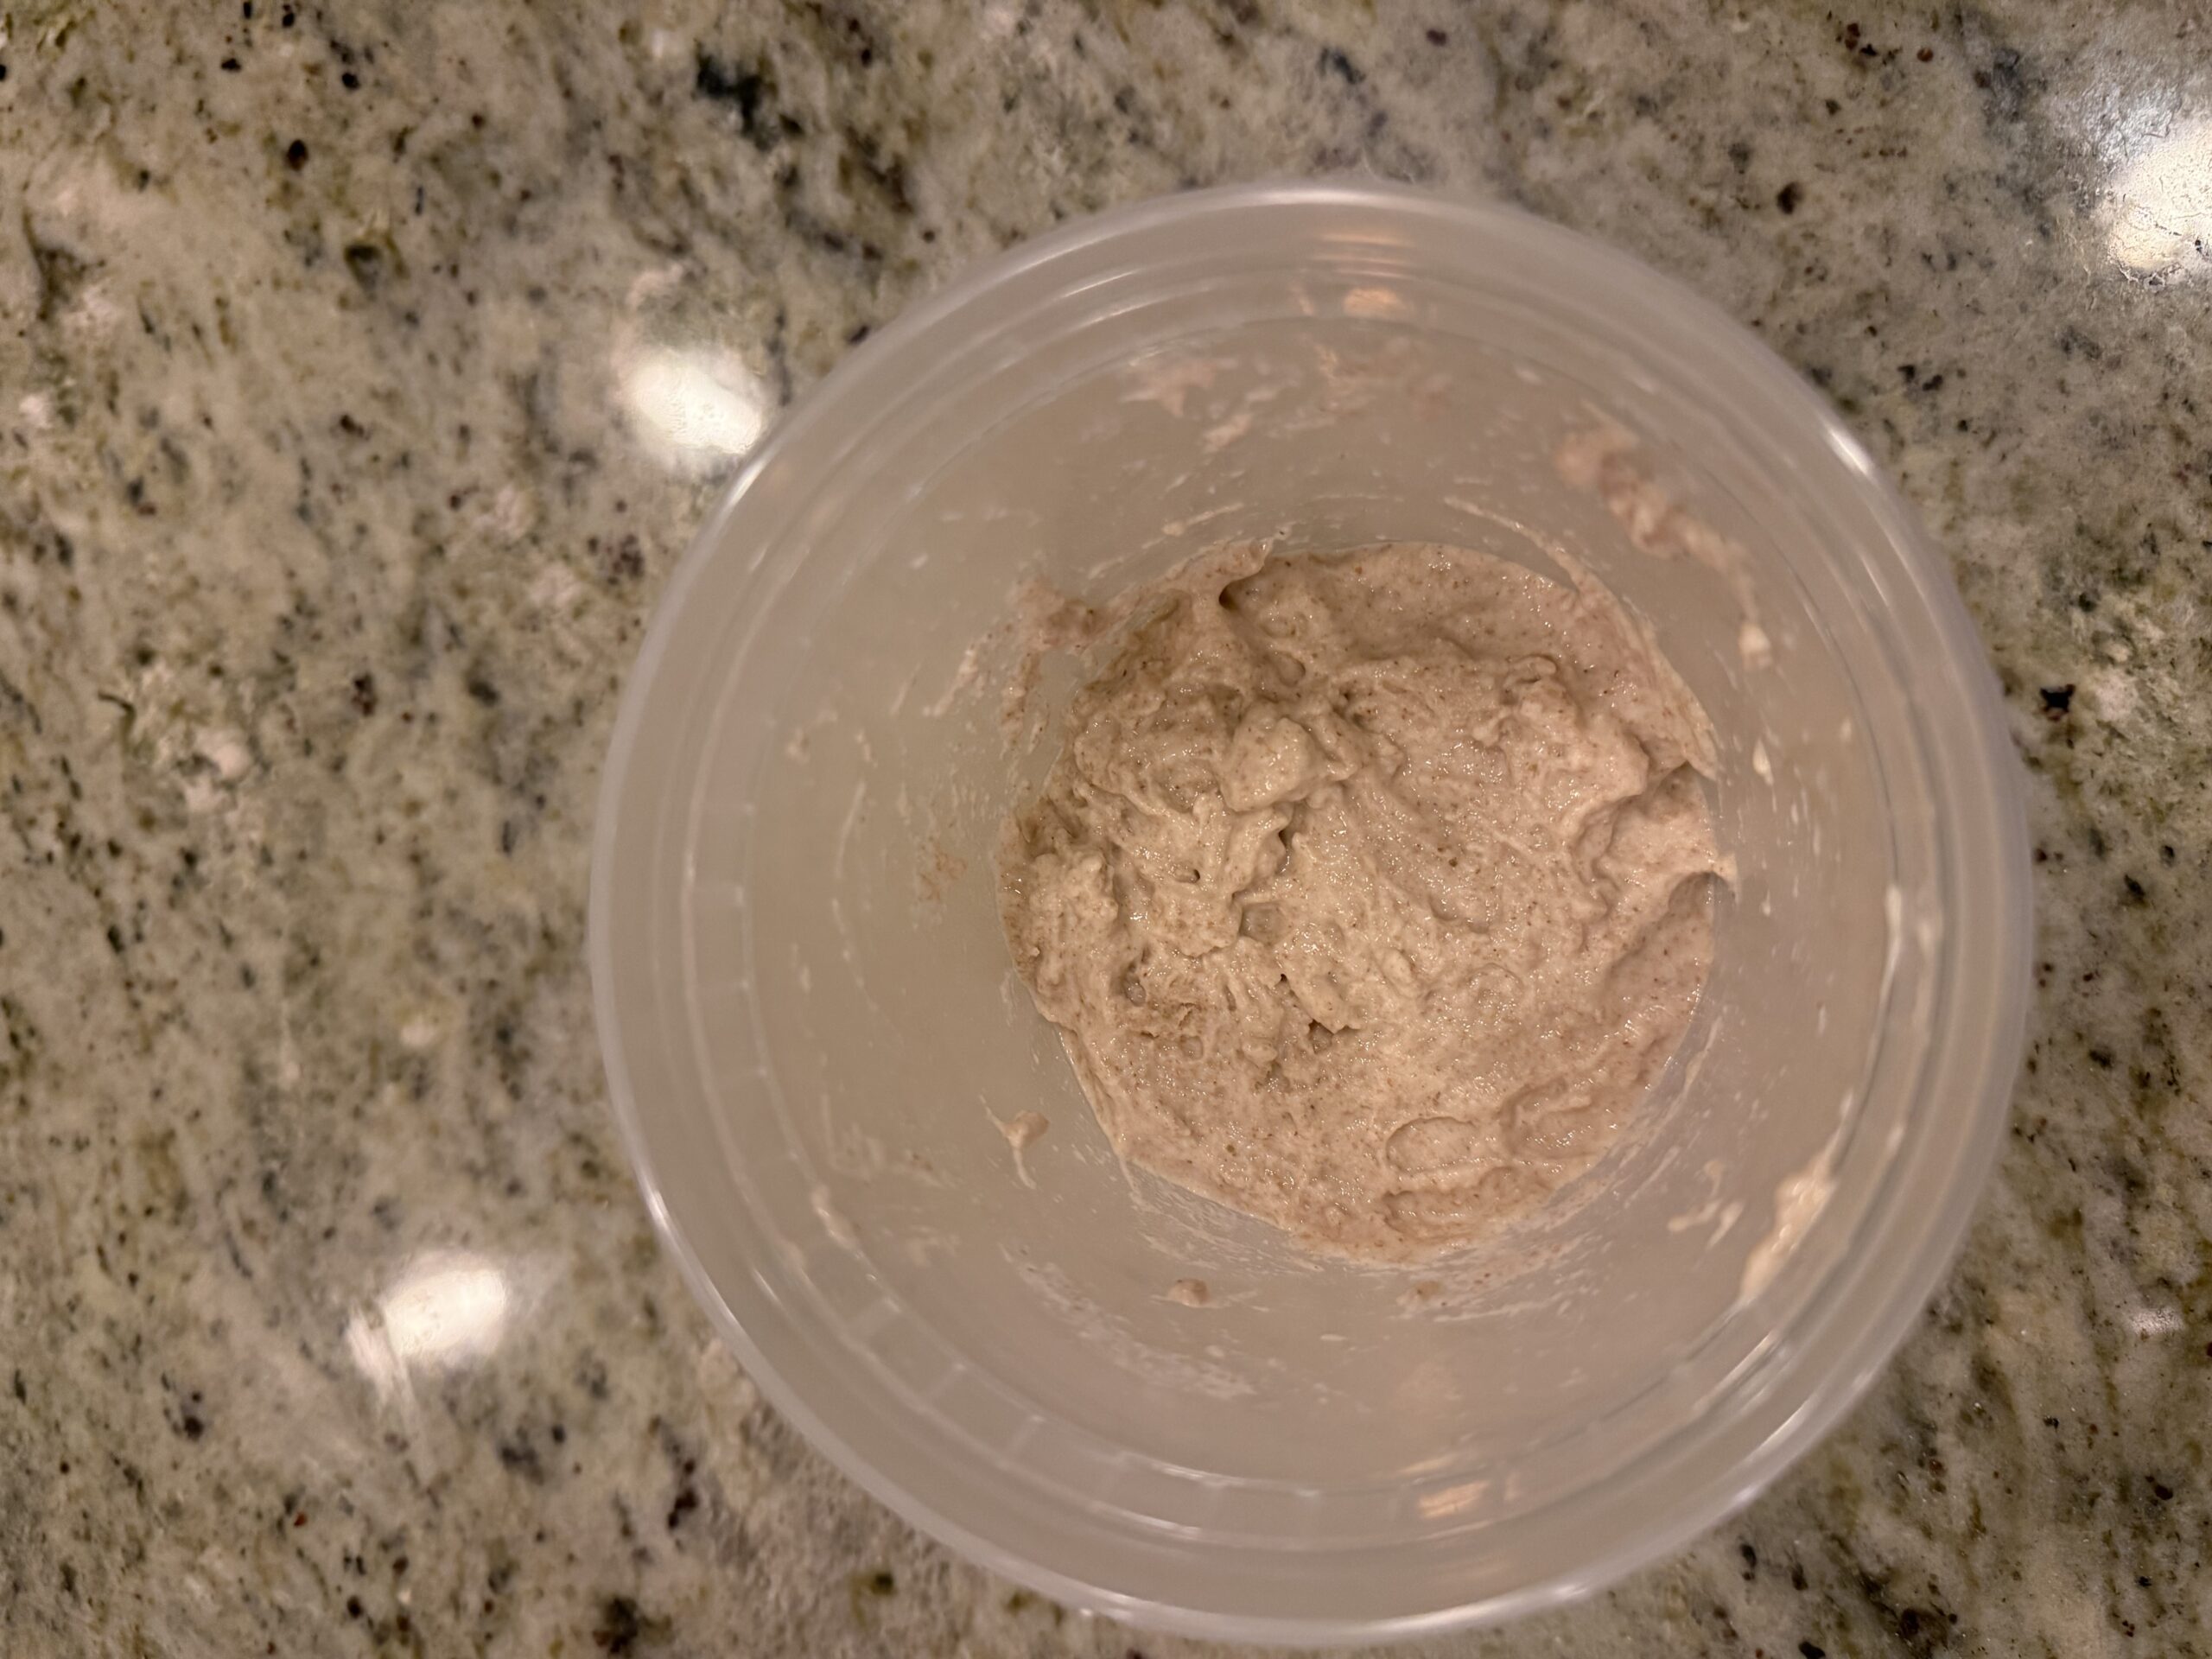
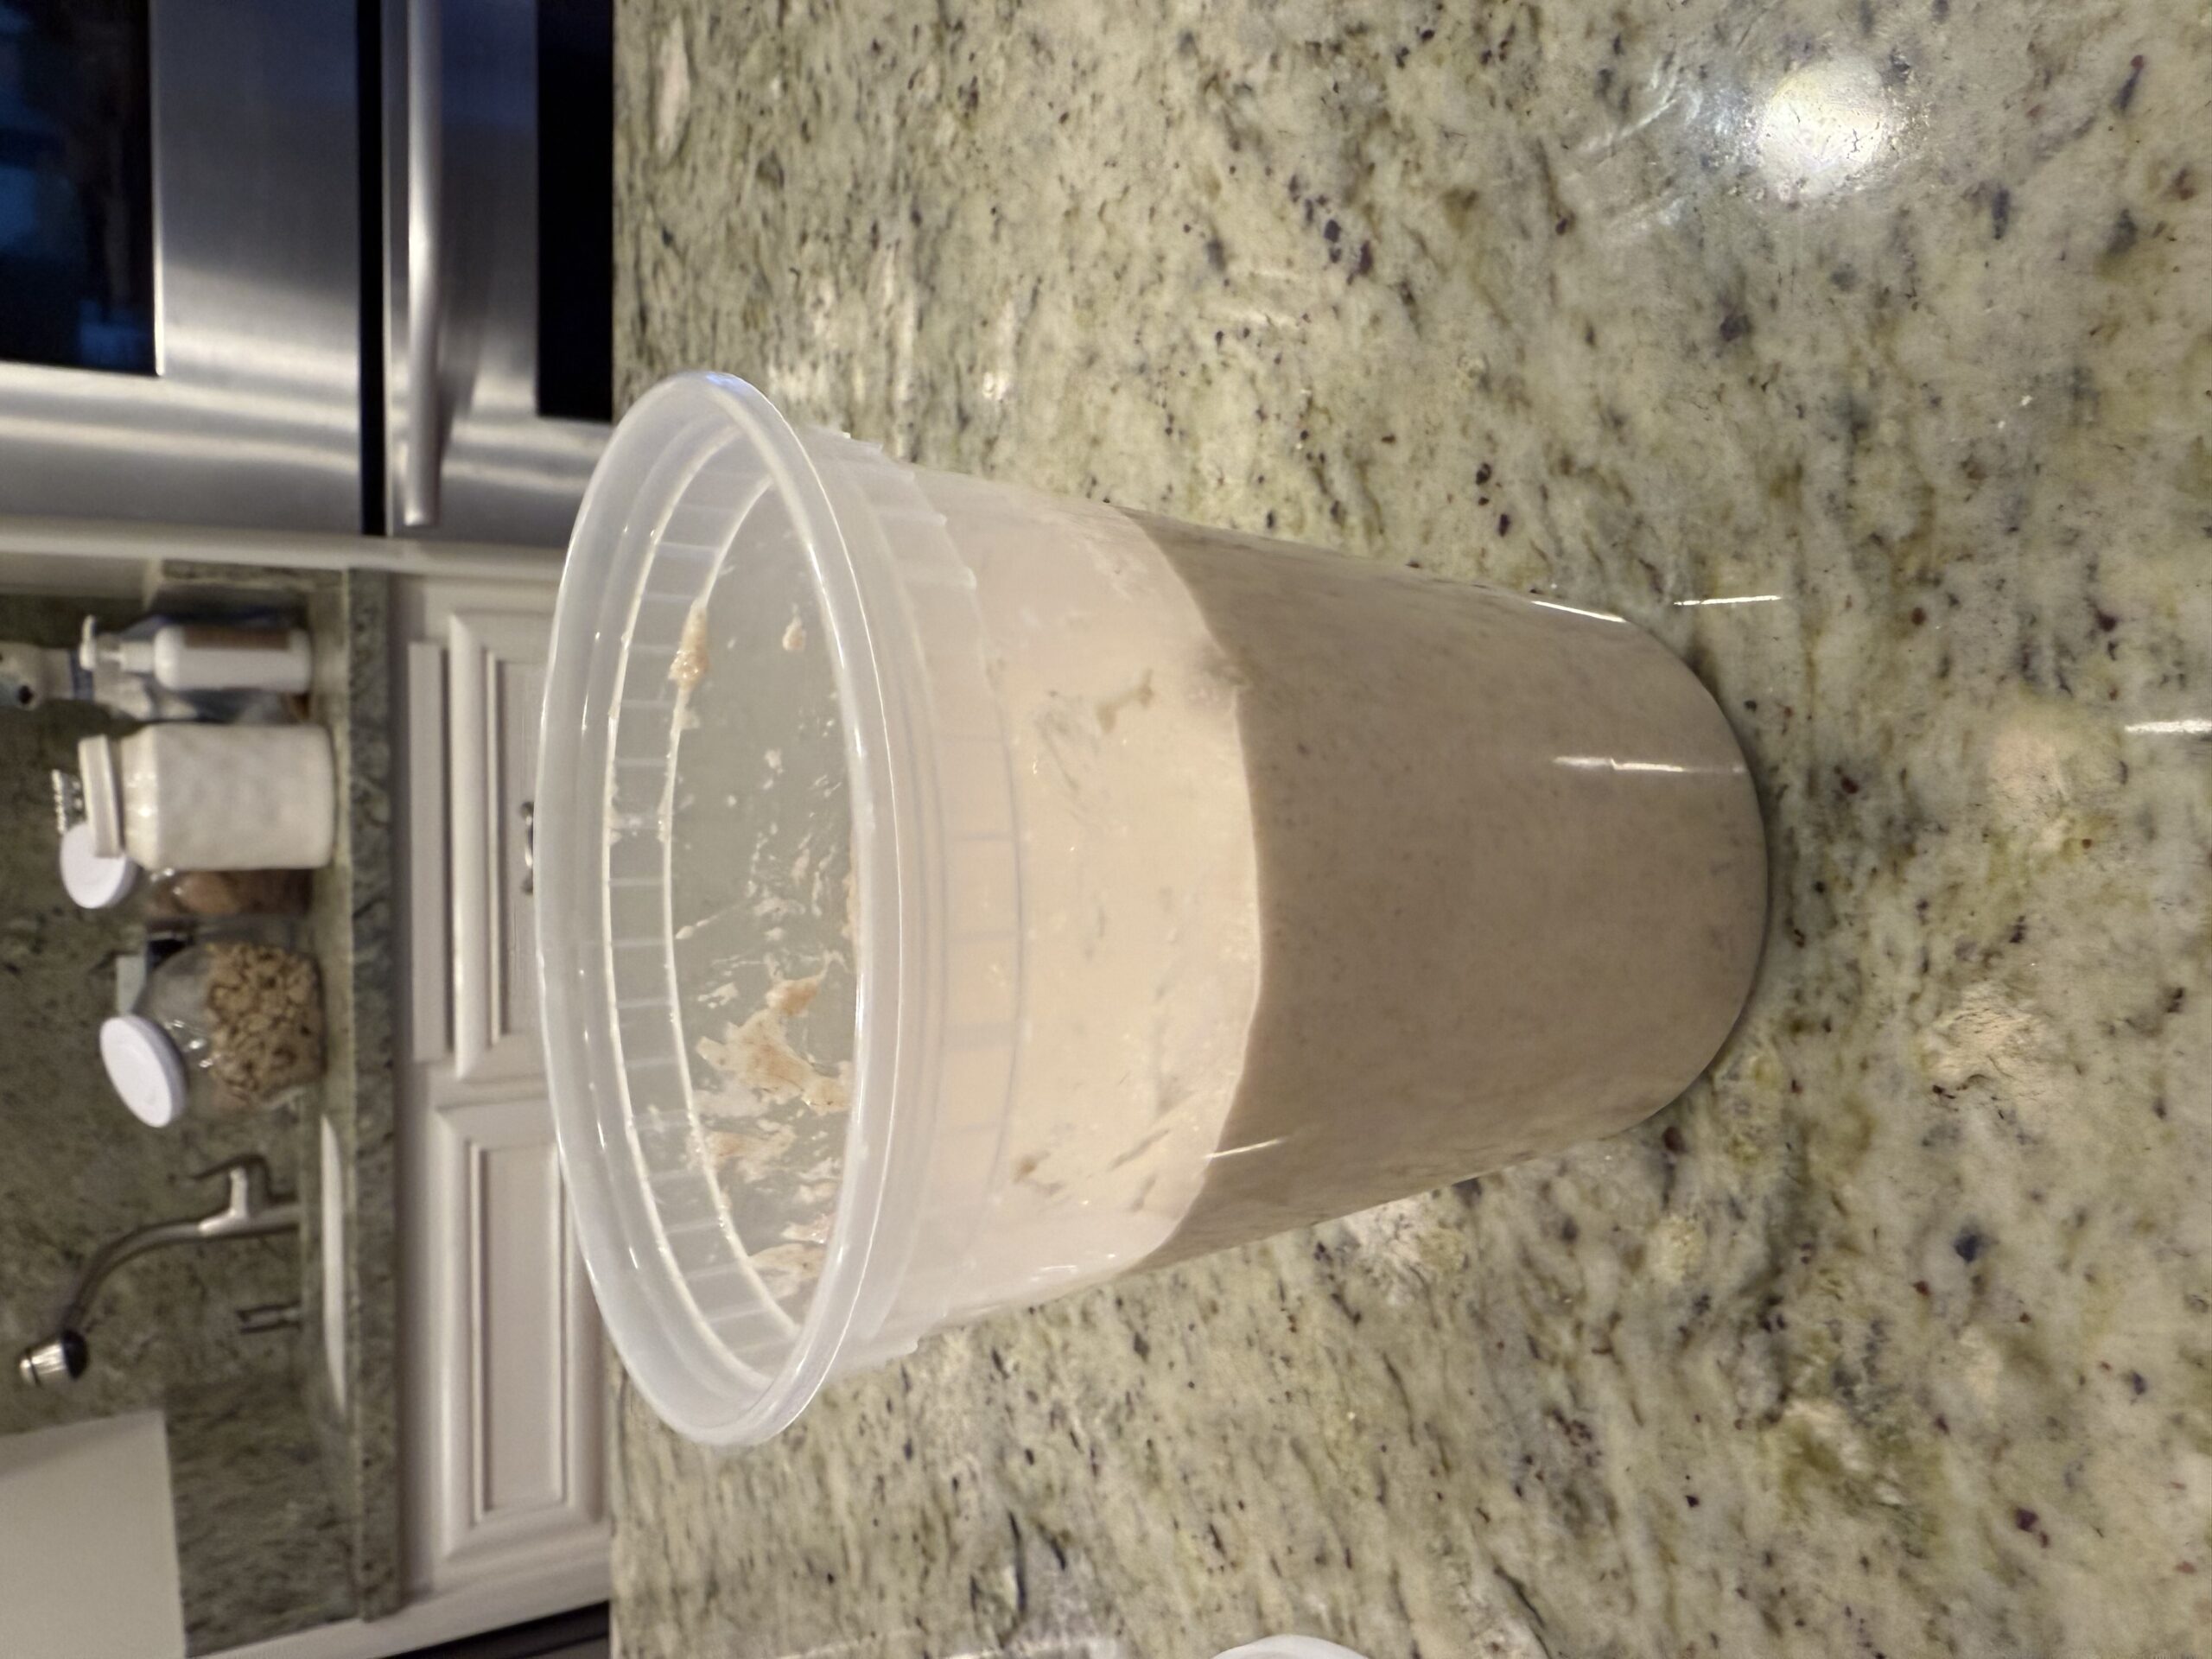
Poolish after mixing — looks shaggy and densePoolish risen 2.5× and ready to useLight, airy, and full of bubbles — ready to mix in
Dough recipe
Preferment (poolish)
Bread flour:174g
Leavening:50g ripe sourdough or0.5–1g active dry yeast
Water (at 90–100°F): 137g
Directions: Mix thoroughly in a sealable container at least triple the volume
of the contents. Cover and set aside at room temperature (65–75°F) for 10–18 hours, or until
at least doubled and very active looking.
Yeast:25–50g ripe sourdough or0.43–0.87g active dry yeast
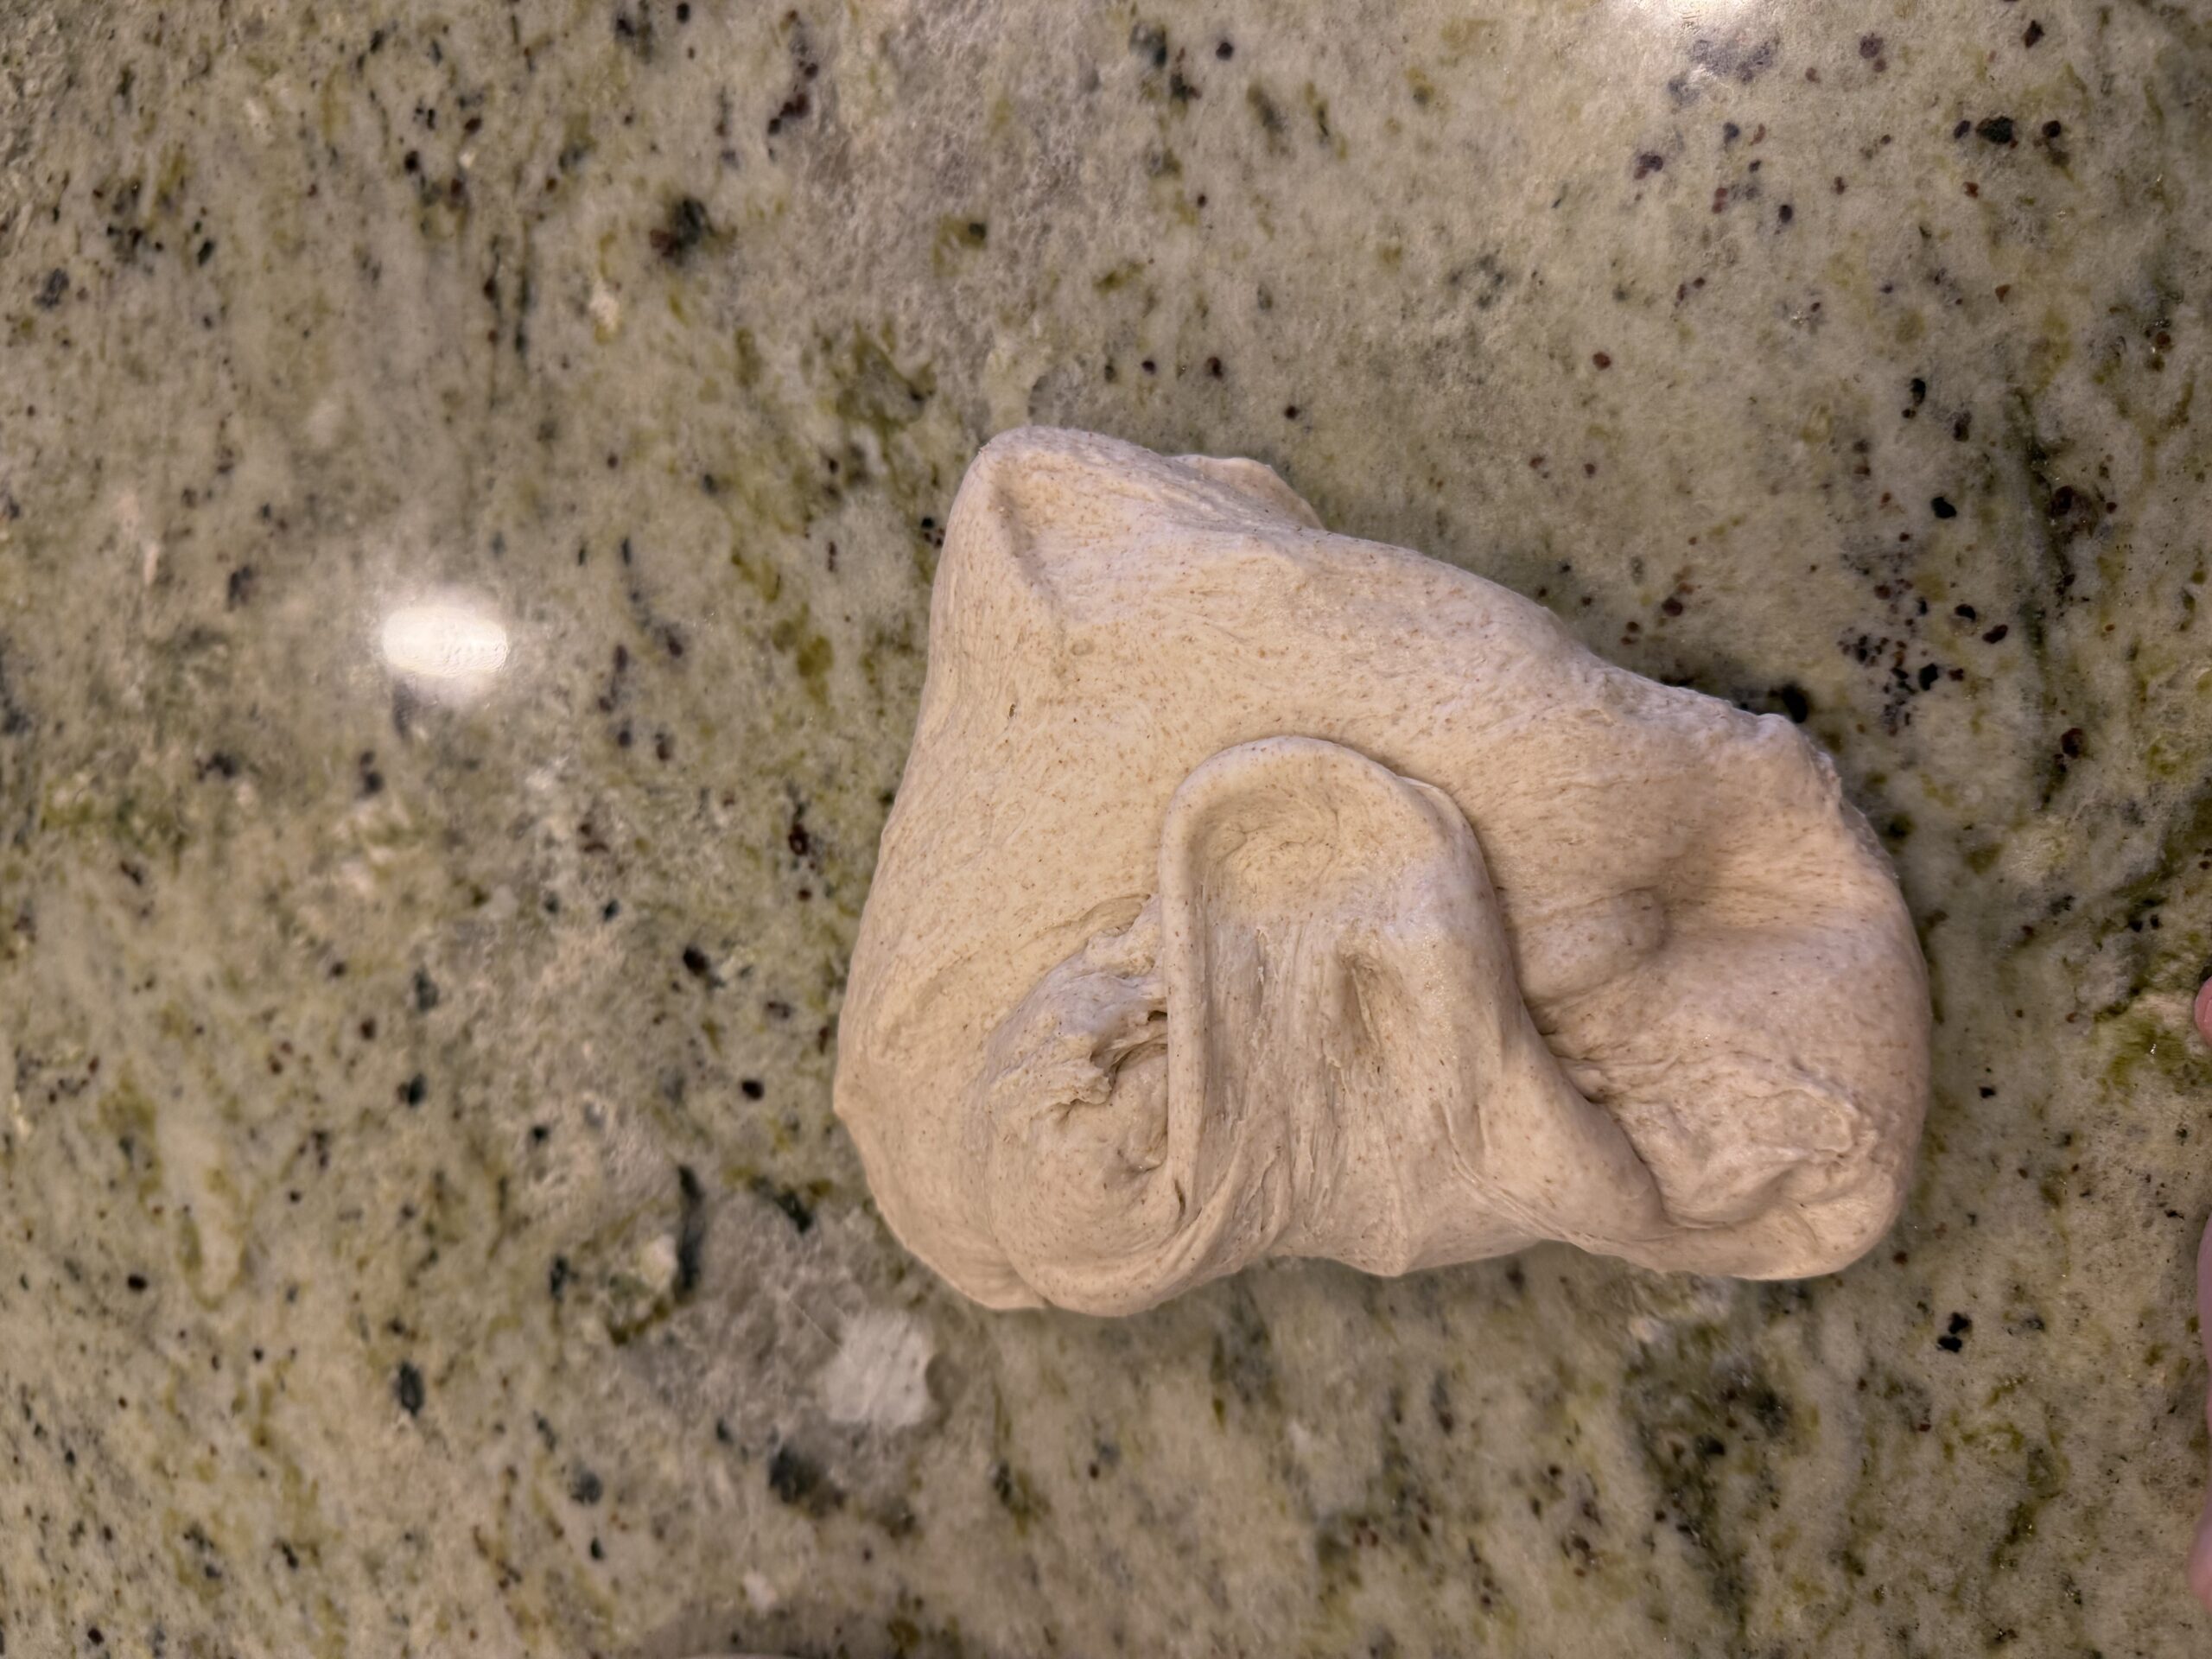
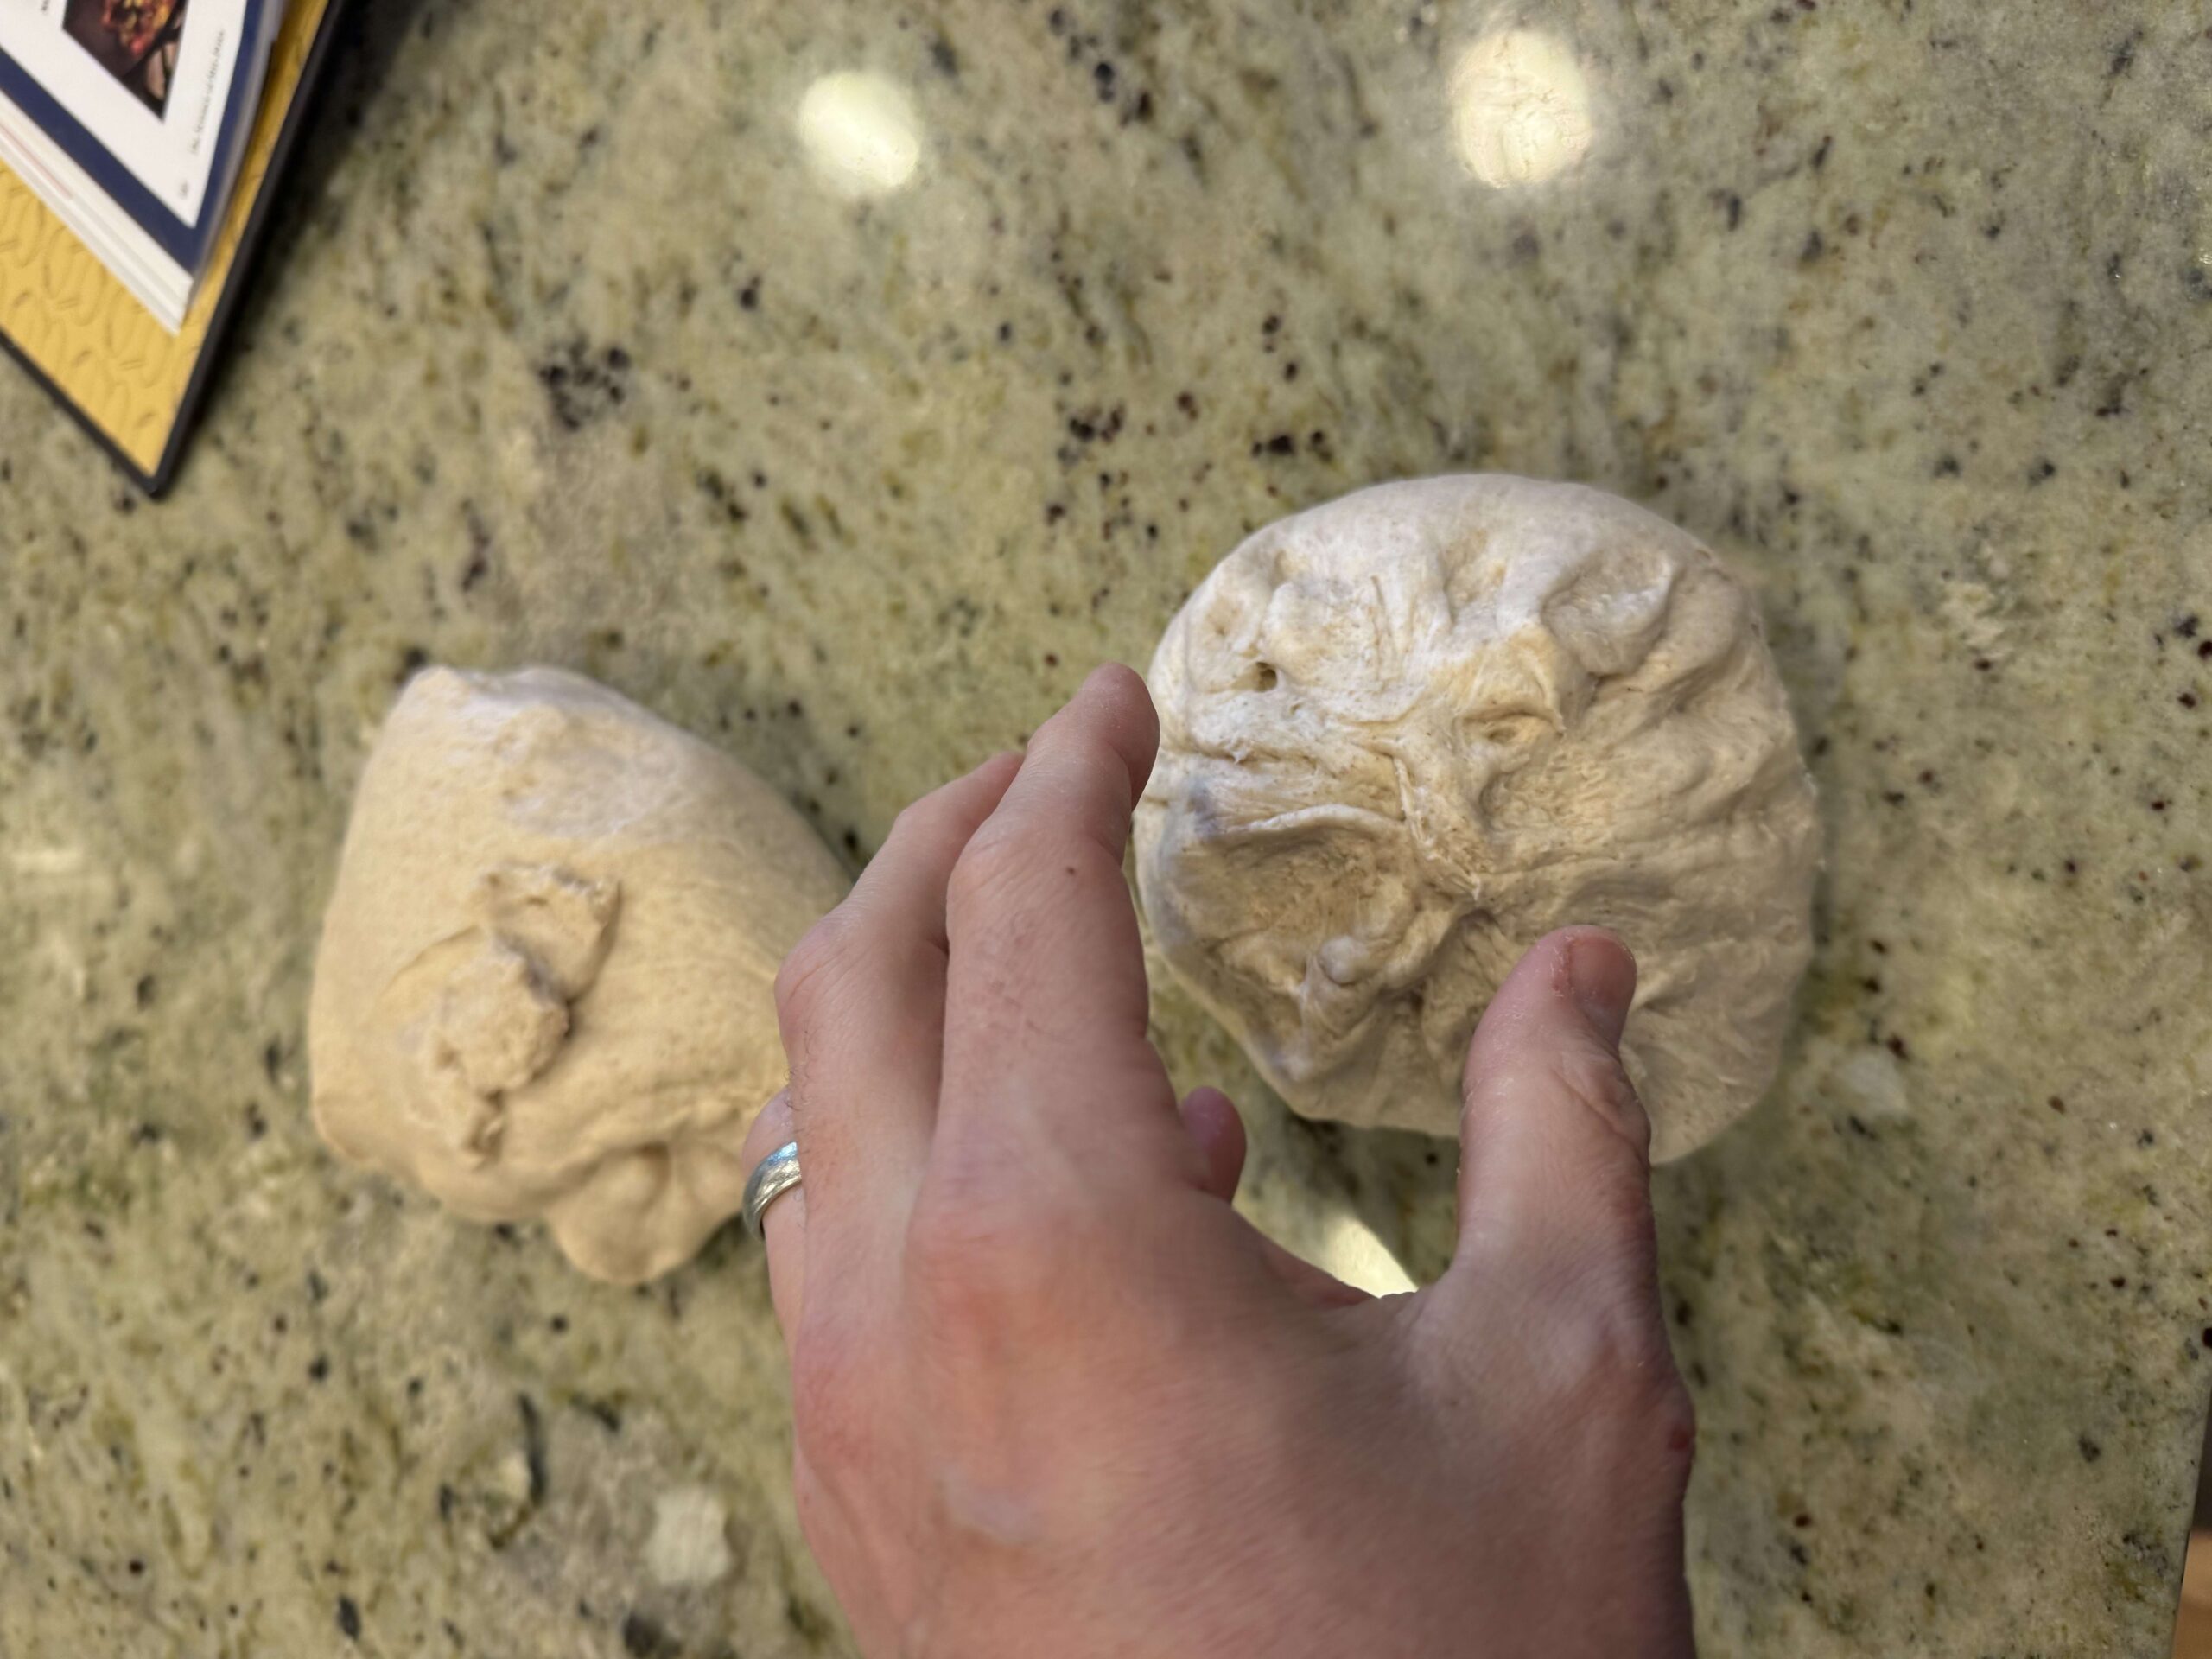
Making the dough
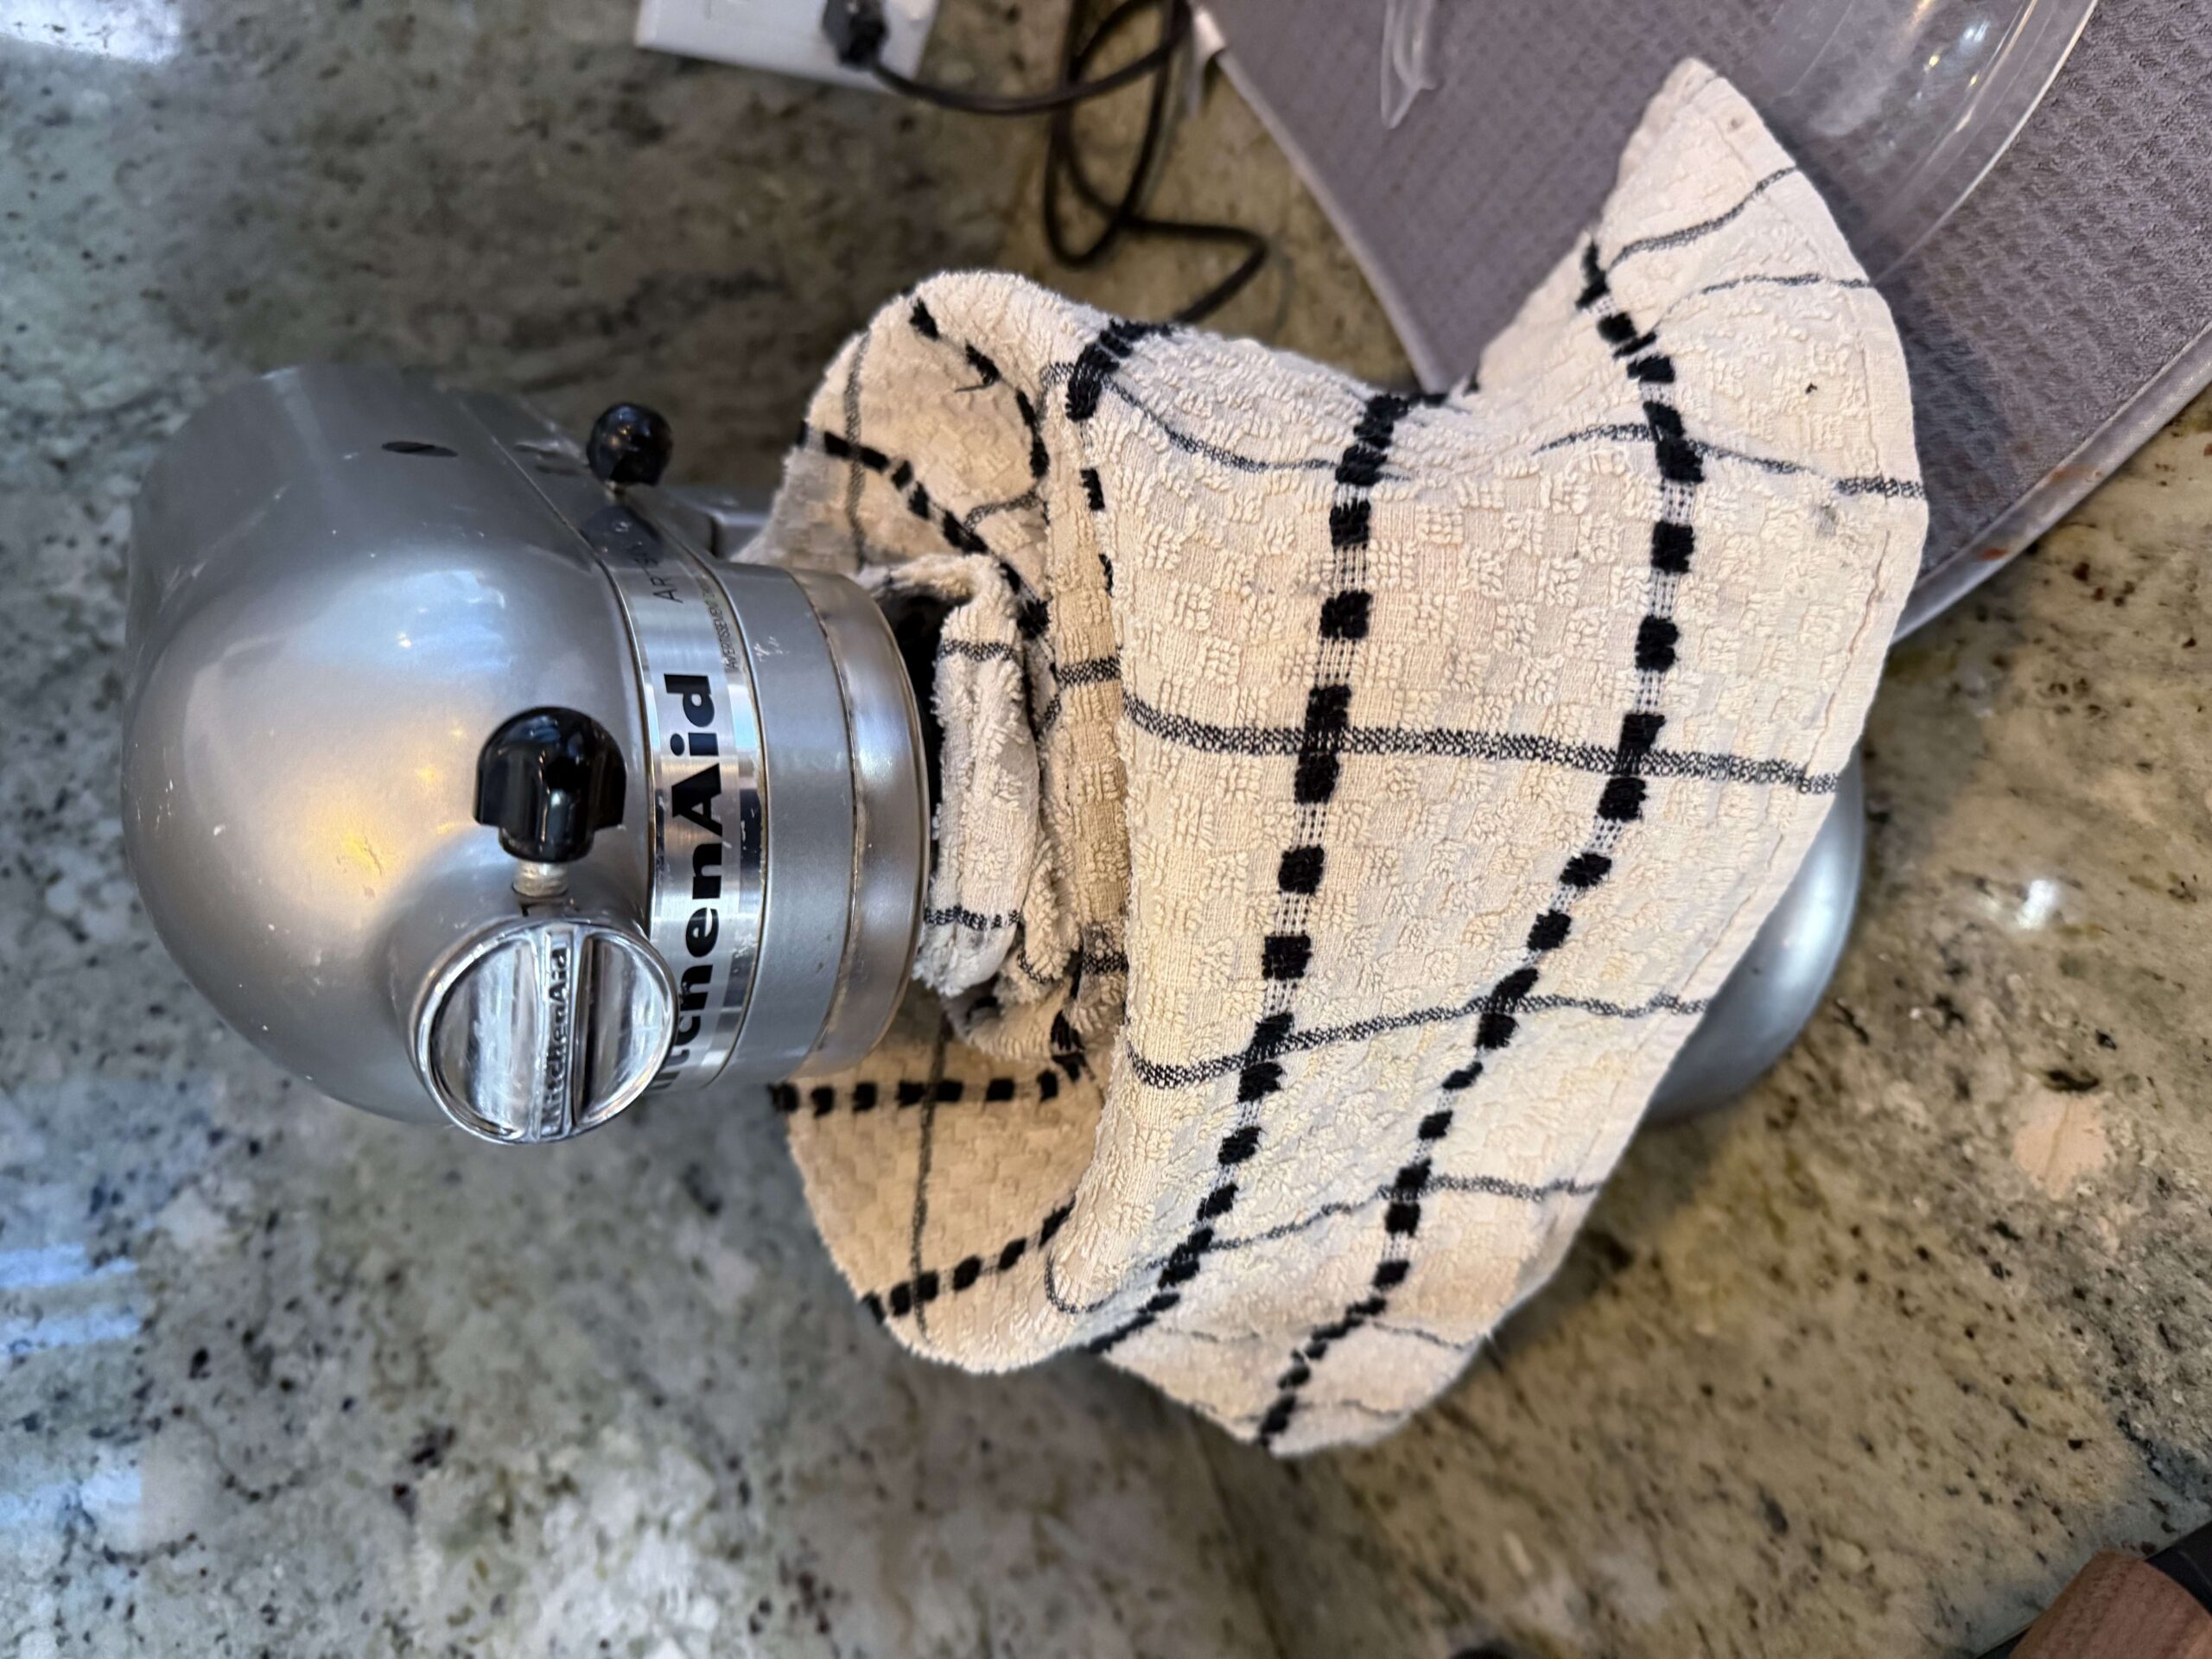
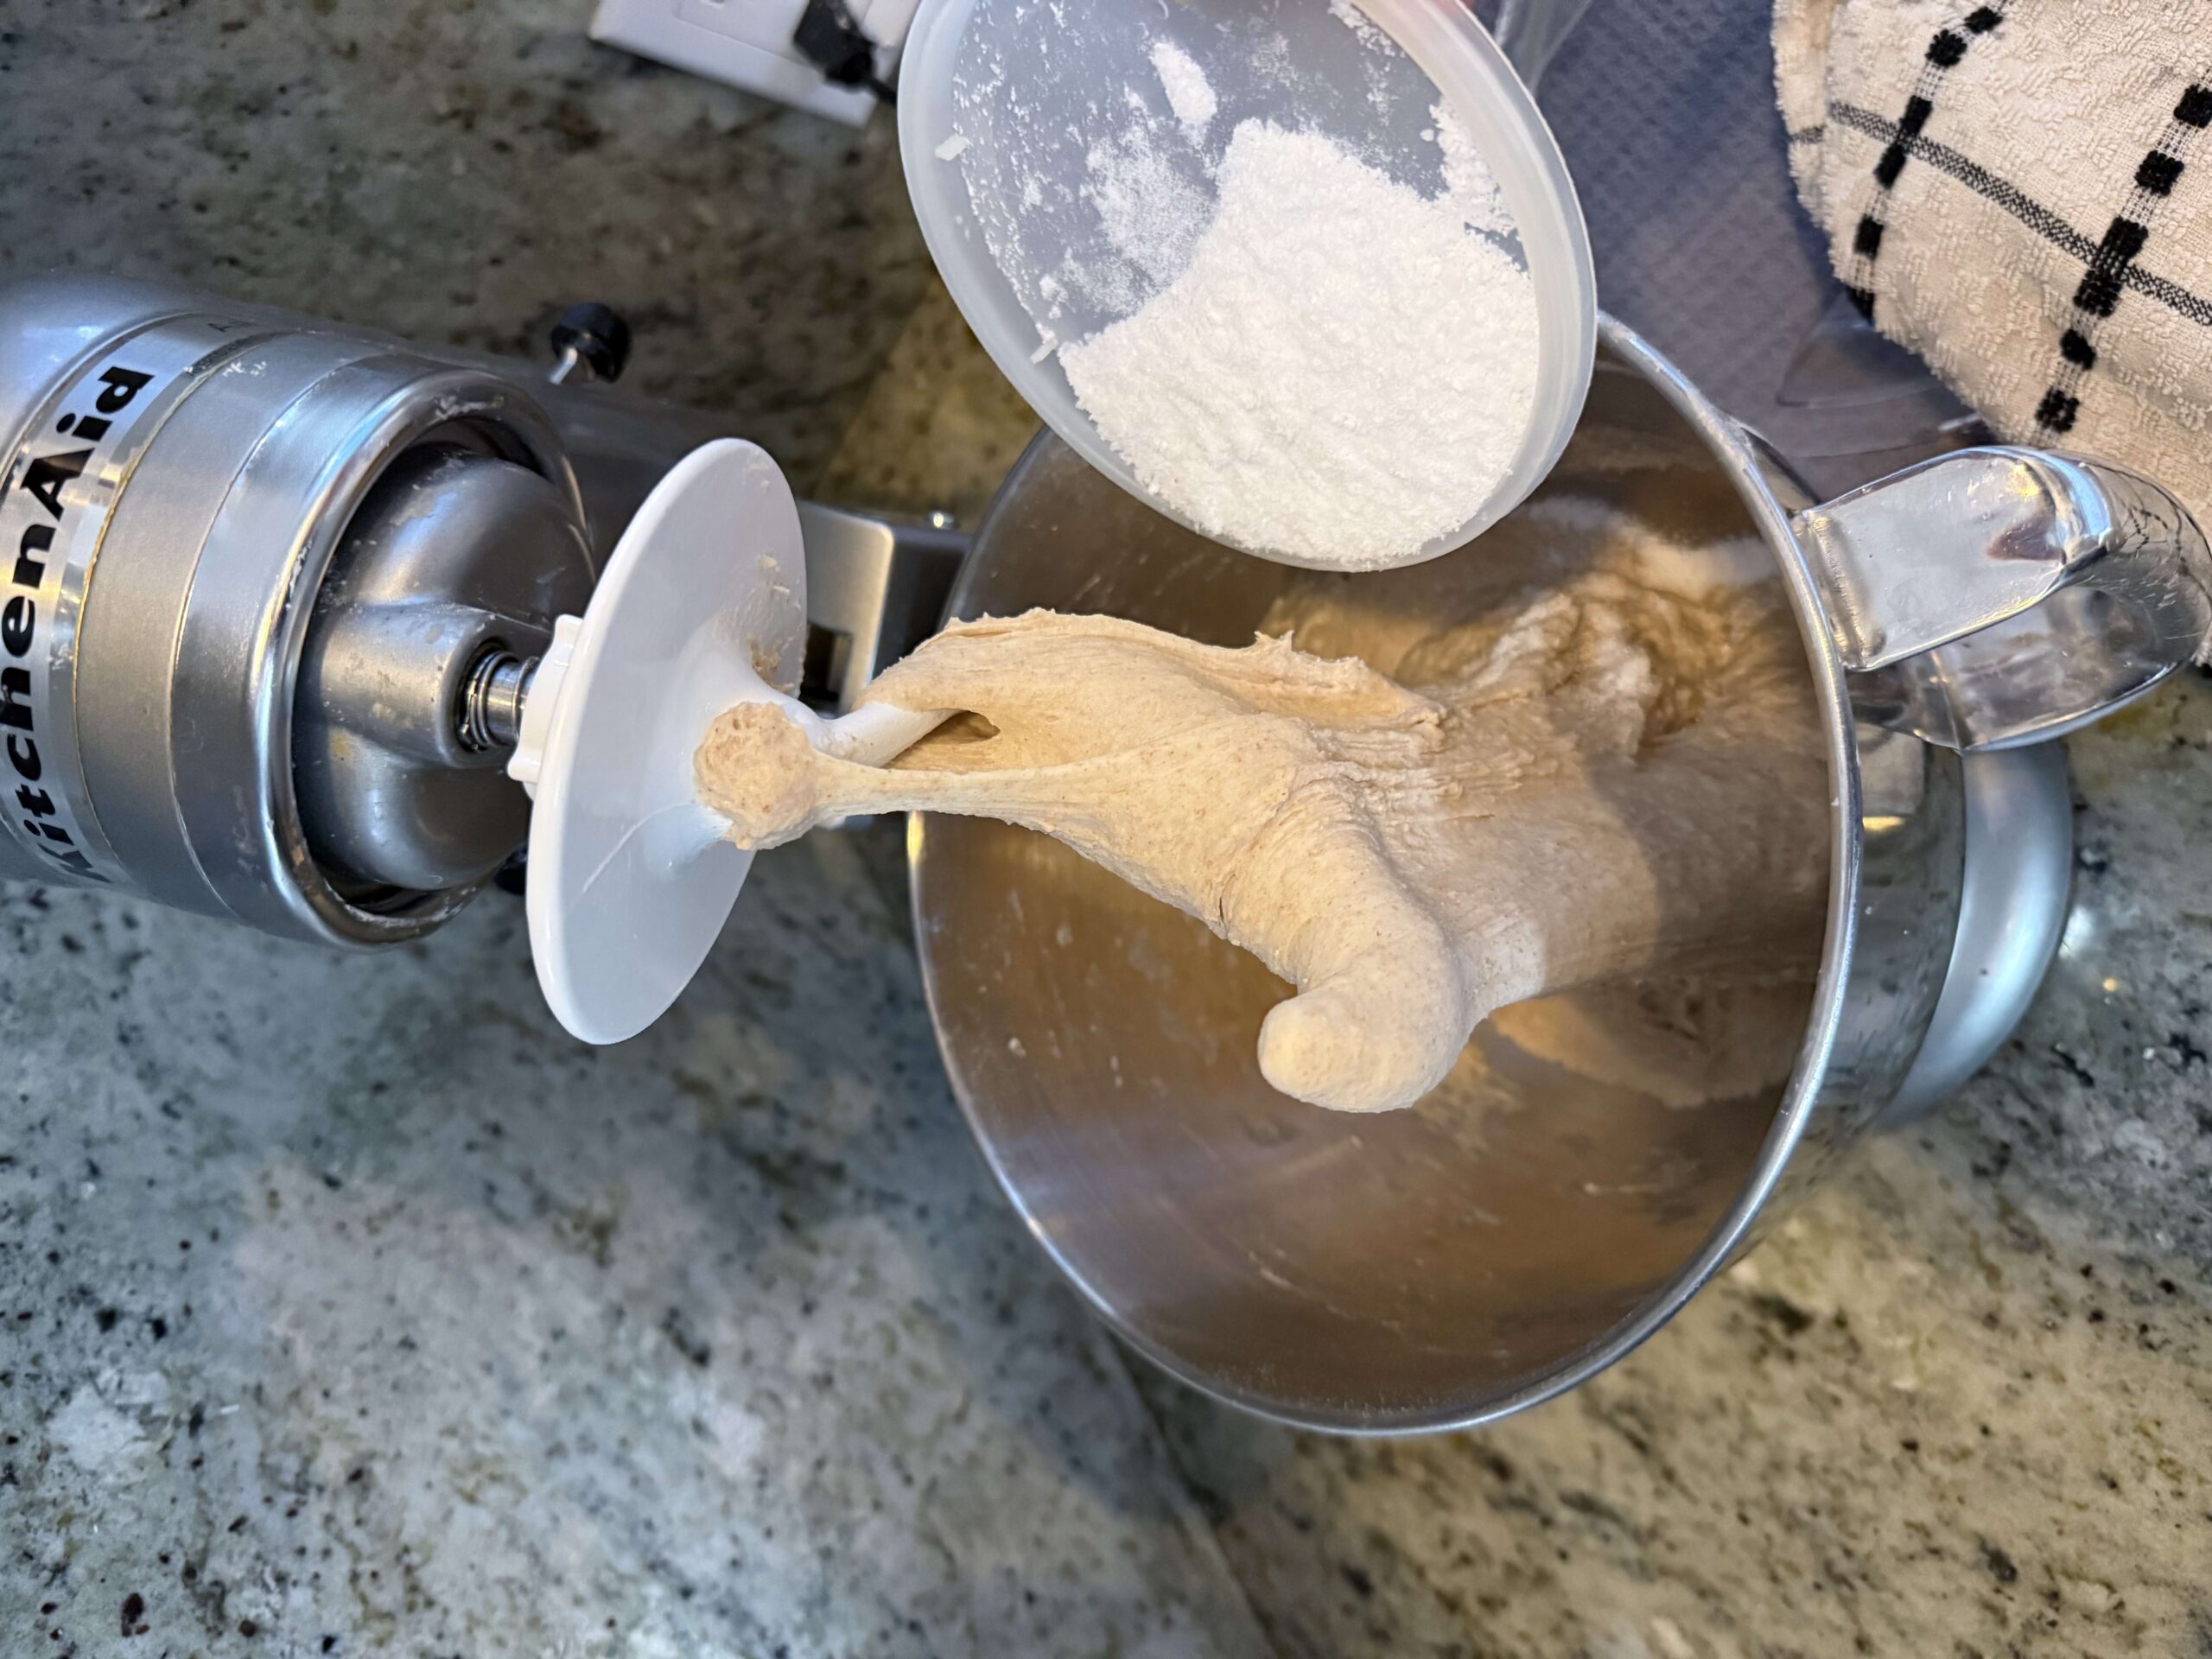
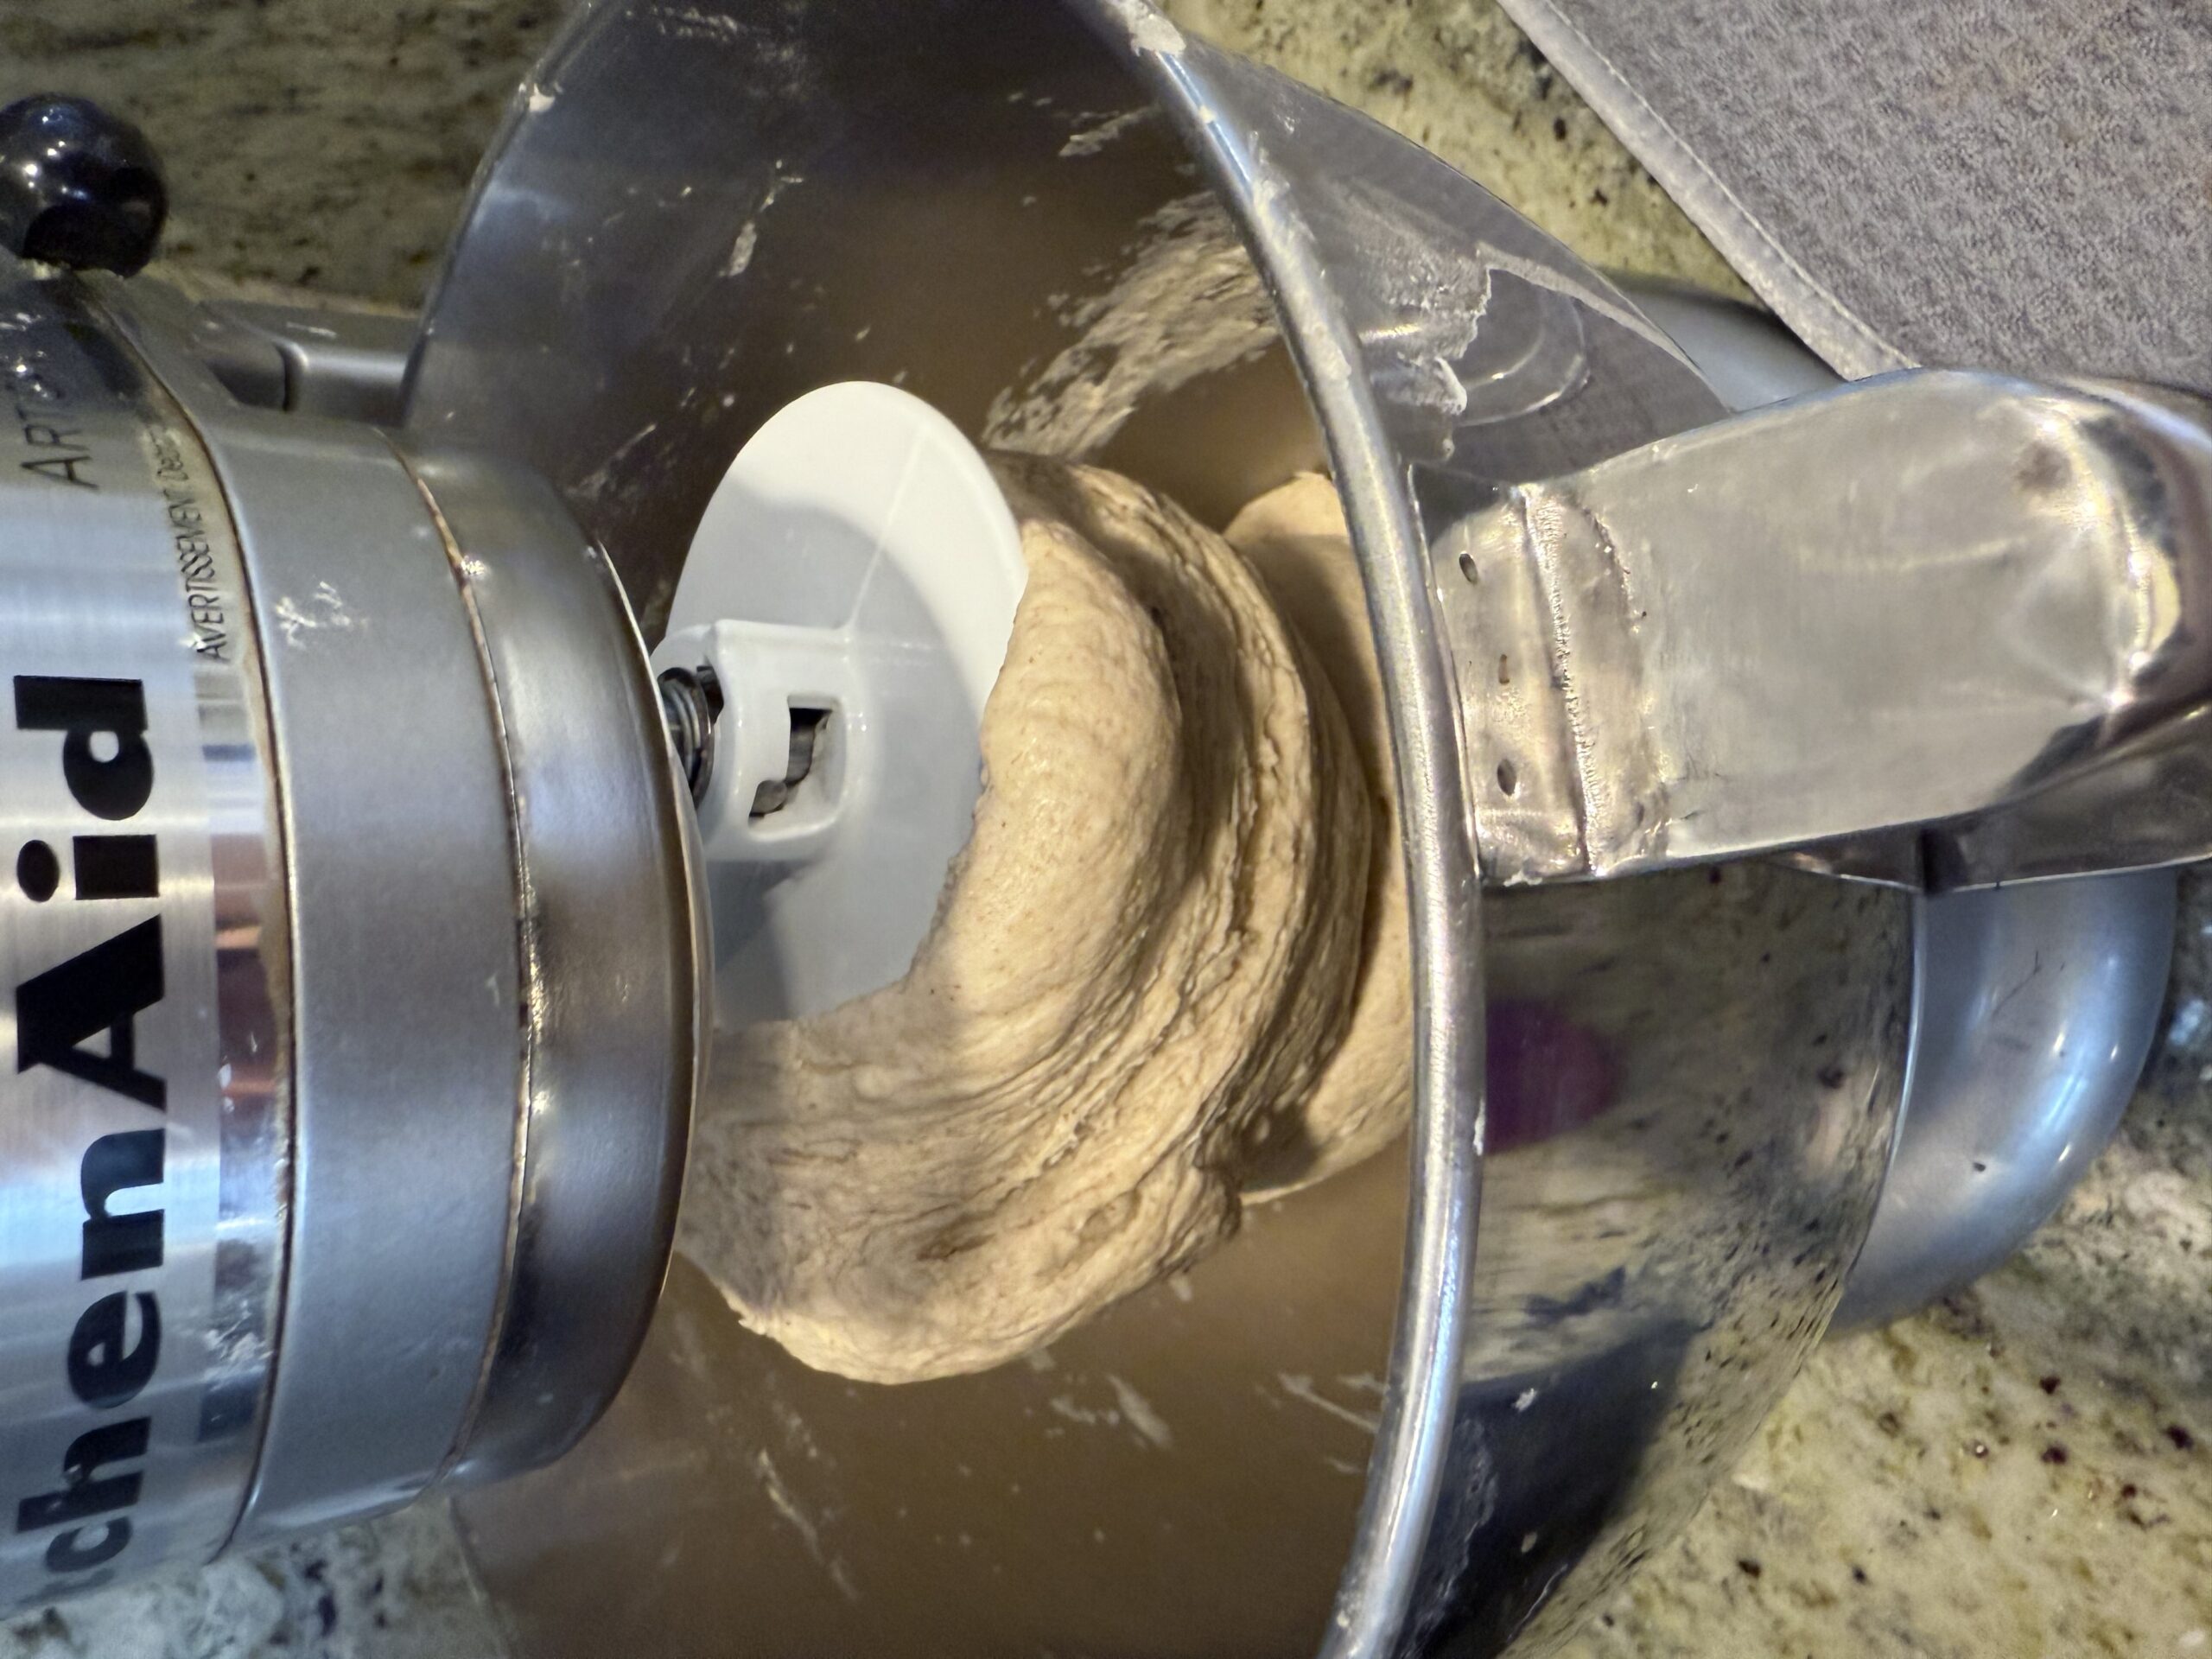
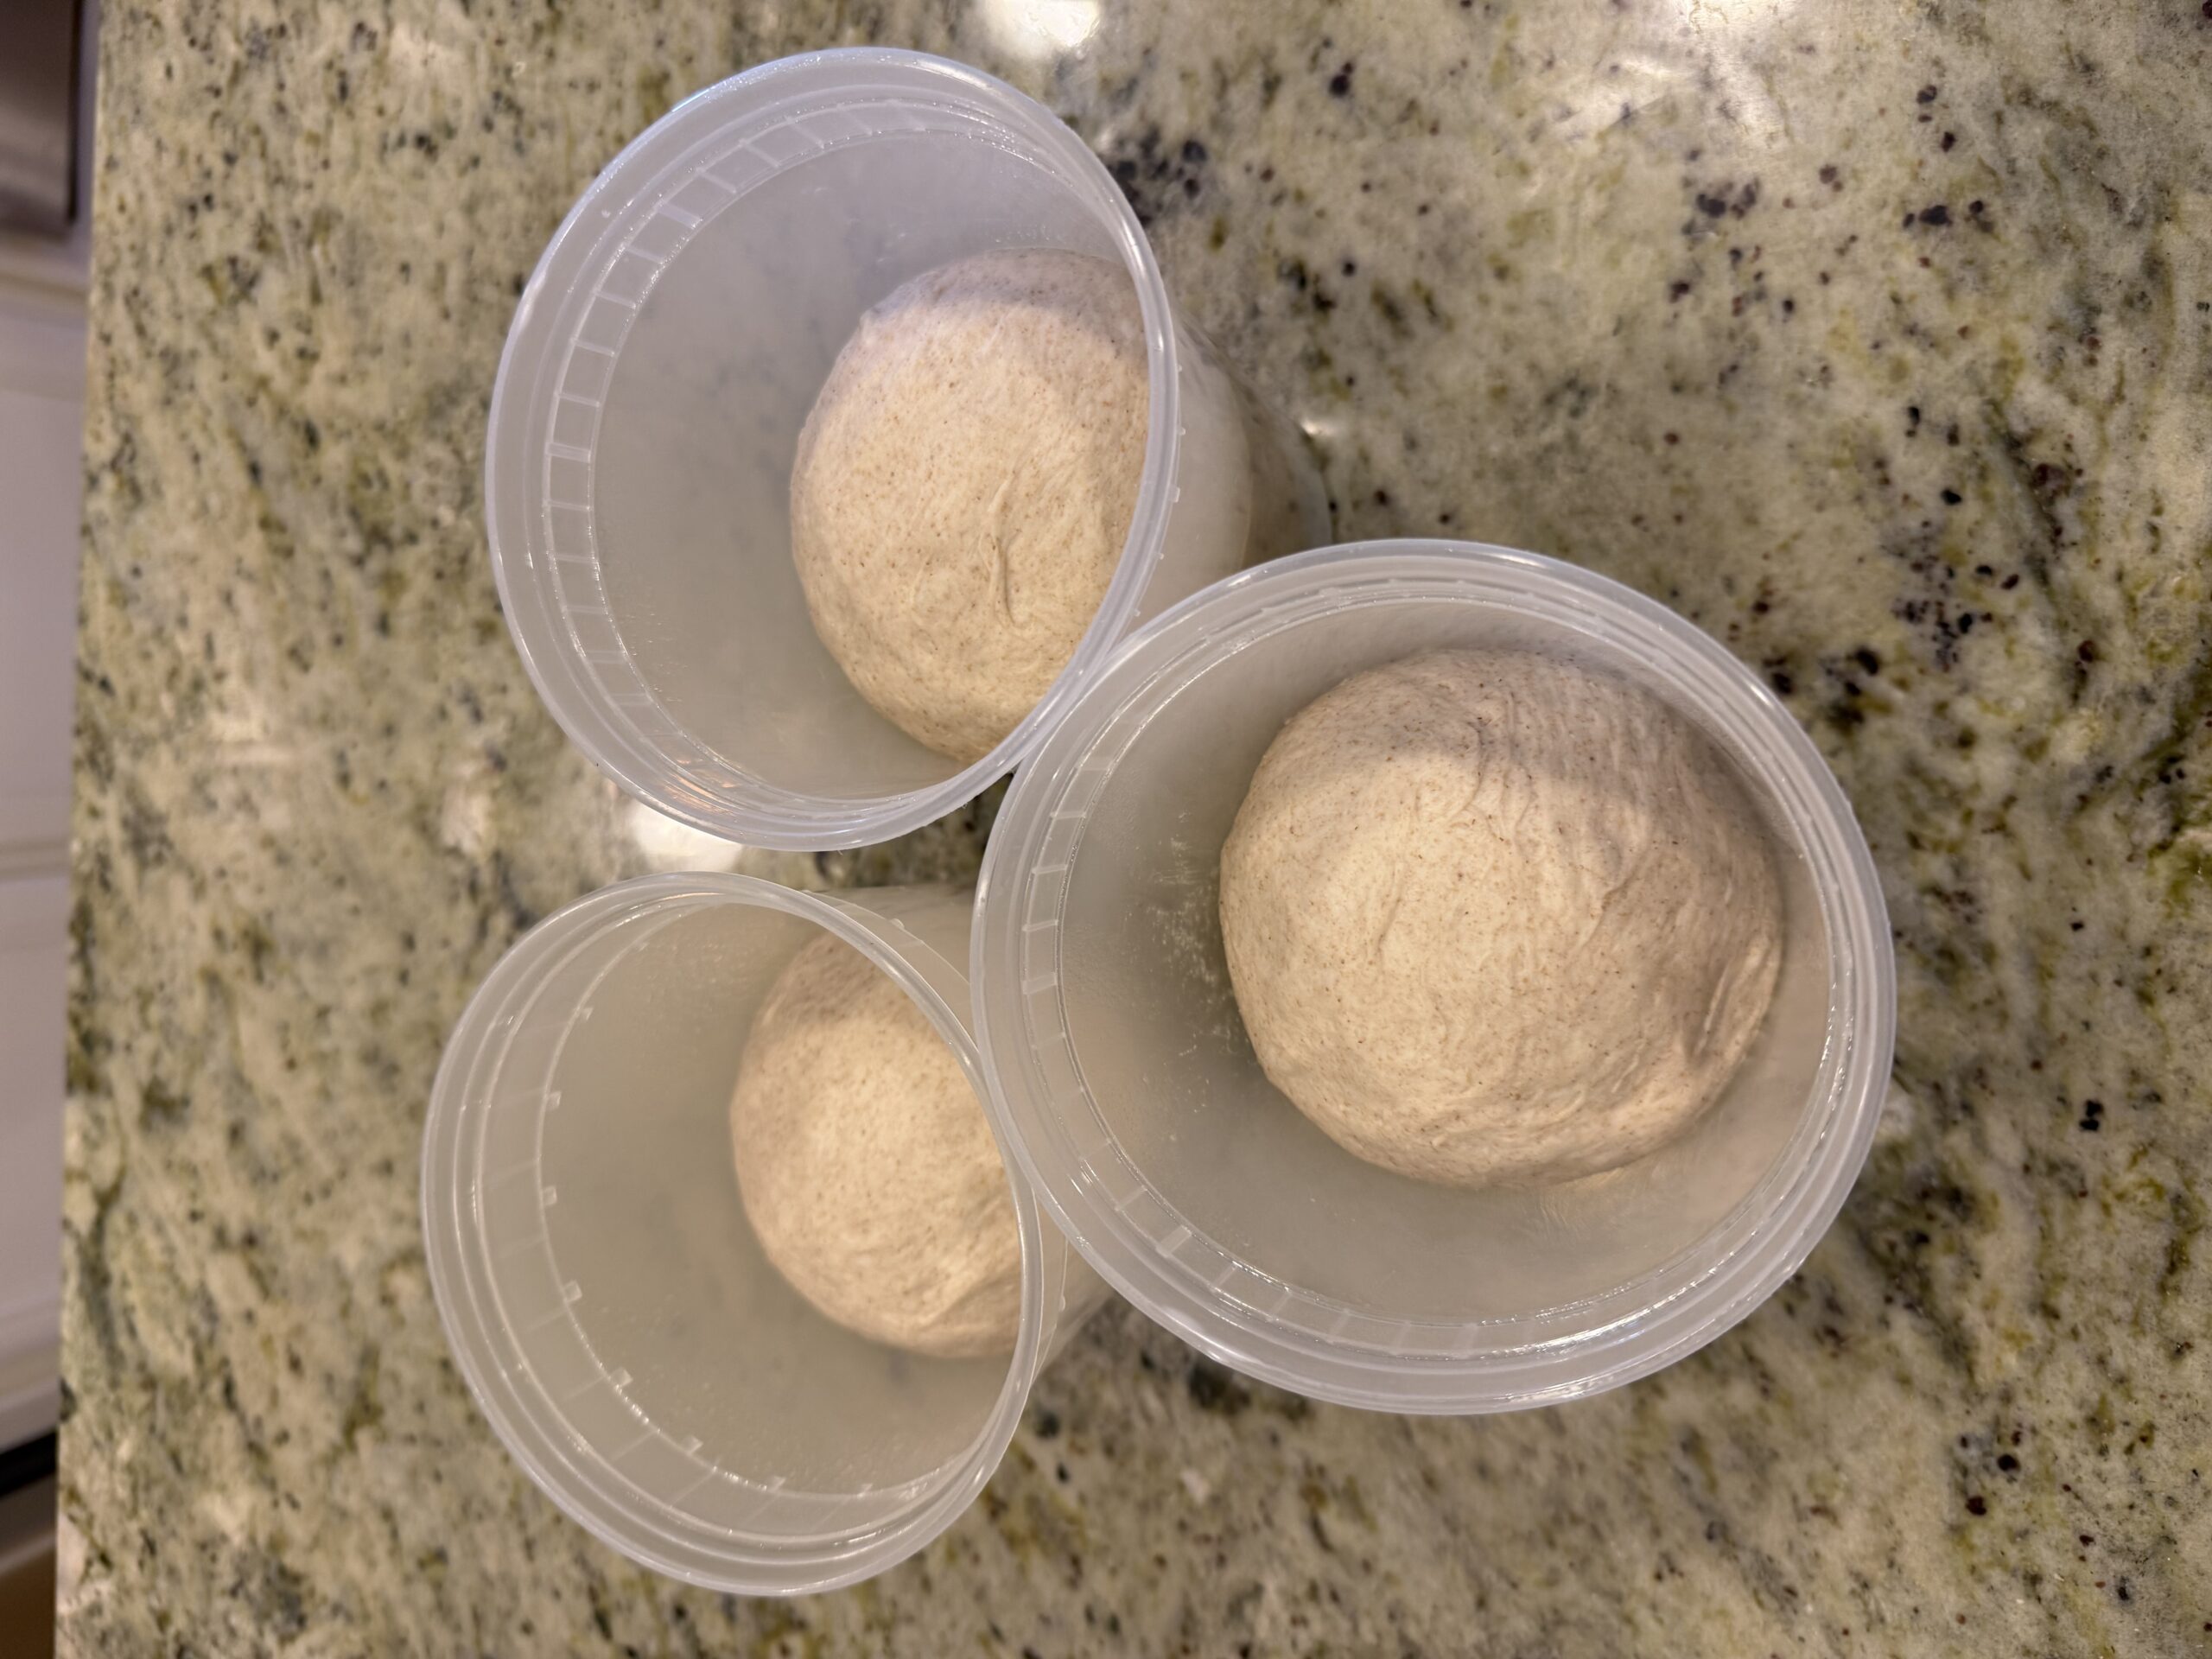
Cover the bowl with a kitchen towel during the autolyse restAdding the salt after the 30-minute autolyseIf the dough climbs the hook, knead by hand for 2–3 minutesFold the ends in to remove creases and build surface tensionAfter folding — smooth surface and good tension32oz deli containers work perfectly for the 475g dough balls
Mix the poolish. Combine the poolish ingredients thoroughly in a sealable
container that's at least triple the volume of the contents.
Ferment the poolish. Cover and set aside in a dark, 65–75°F spot until it
has at least doubled or tripled in size and looks bubbly and airy (8–16 hours). Don't worry
about being a bit over or under — as long as you see significant activity.
Mix the final dough. Combine the final dough water and flour with the
preferment in a stand mixer or large bowl until you have a shaggy dough with no visible dry
flour (about 2–4 minutes).
Cover with a kitchen towel and let sit for 20–45 minutes. This lets the dough hydrate
(autolyse) and will make it much easier to work with.
Incorporate the salt. Sprinkle the salt evenly over the dough.
Stand mixer: Mix on speed 1 or 2 for 4–6 minutes until the salt is
fully integrated and the dough looks smooth. Remove and knead by hand for an additional
2–3 minutes.
By hand: Knead for about 5–8 minutes until the salt is fully integrated
and the dough is smooth.
Stretch and folds. Form the dough into a tight ball in a lightly oiled bowl.
Cover and rest 30 minutes, then perform one round of stretch and folds. Repeat 2–3 more times,
once every 30 minutes.
Continue bulk fermentation.
Sourdough: After stretch and folds, let the dough sit covered for another
1–2 hours (until 1.5–2× original size). Optional: additional stretch and folds every 30
minutes for stronger dough3.
Yeast: Once stretch and folds are complete, you can end bulk fermentation
and move to dividing.
Portion the dough. This recipe yields enough for three 16″ pizzas (~475g
each). Cut the dough into pieces and fold each into a tight ball with a small seam on the
bottom and good tension on the surface.
Cold-proof the dough. Place each dough ball in a lightly oiled container
about 2–3 times the volume of the dough ball. Seal and refrigerate for 24–72 hours. I prefer
about 48 hours, but anywhere from 12 hours to 5 days will work.
Prepping the final dough
At ~63% hydration, this dough is fairly easy to handle. Unlike the much higher-hydration New
Haven–style dough (which can be sticky and tear easily), you can comfortably stretch and shape
this one by hand. A 475g dough ball should yield a 15–16″ crust. Coat your dough ball and work
surface generously with flour and/or semolina before stretching.
Baking
This recipe works best in a high-temperature pizza oven, but you can also get good results with
a home oven cranked to its highest setting and using a pizza steel or stone. If you don't have a steel, stone,
or pizza oven, you can turn 2–3 large baking sheets upside down as a makeshift stone.
Pizza oven
Preheat the oven floor to about 650–800°F (use the higher end if you plan to cook multiple pizzas).
Cook for 4–6 minutes, turning as needed if the pizza cooks unevenly.
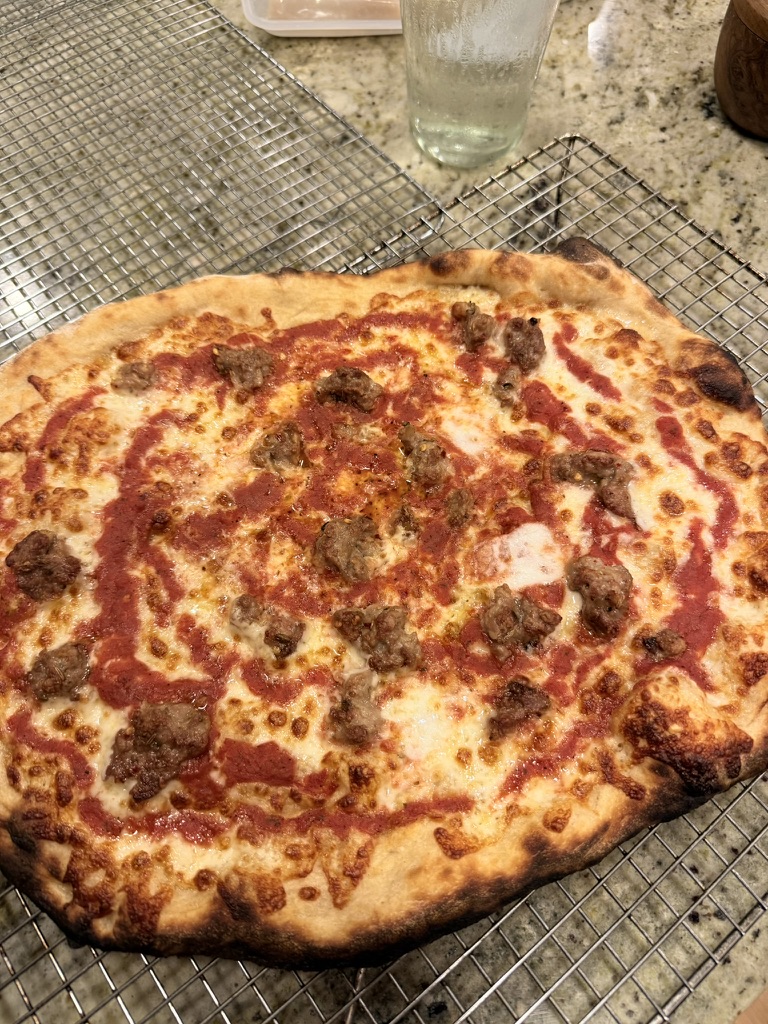
Remove the pizza and cool on a rack for 2–5 minutes.
Optional: If the top isn't as cooked as you'd like, return it to the oven for
an extra 1–2 minutes. In a wood-fired dome oven, lift the pizza close to the dome on a metal
peel for 10–30 seconds. Letting it cool slightly before this final sear gives the crust extra
crunch — similar to a slice shop reheat.
Home oven
Preheat to the highest setting (typically 500–550°F) with a pizza stone or steel one rack above the middle.
Once heated, wait an additional 10–30 minutes to ensure the stone/steel is fully up to temperature.
Cook for 5–8 minutes, turning as needed for even browning.
Remove and cool on a rack for 2–5 minutes.
Optional: For a more well-done top, turn on your broiler for 30 seconds to
2 minutes. Letting the pizza cool slightly first adds extra crunch, mimicking a slice shop reheat.
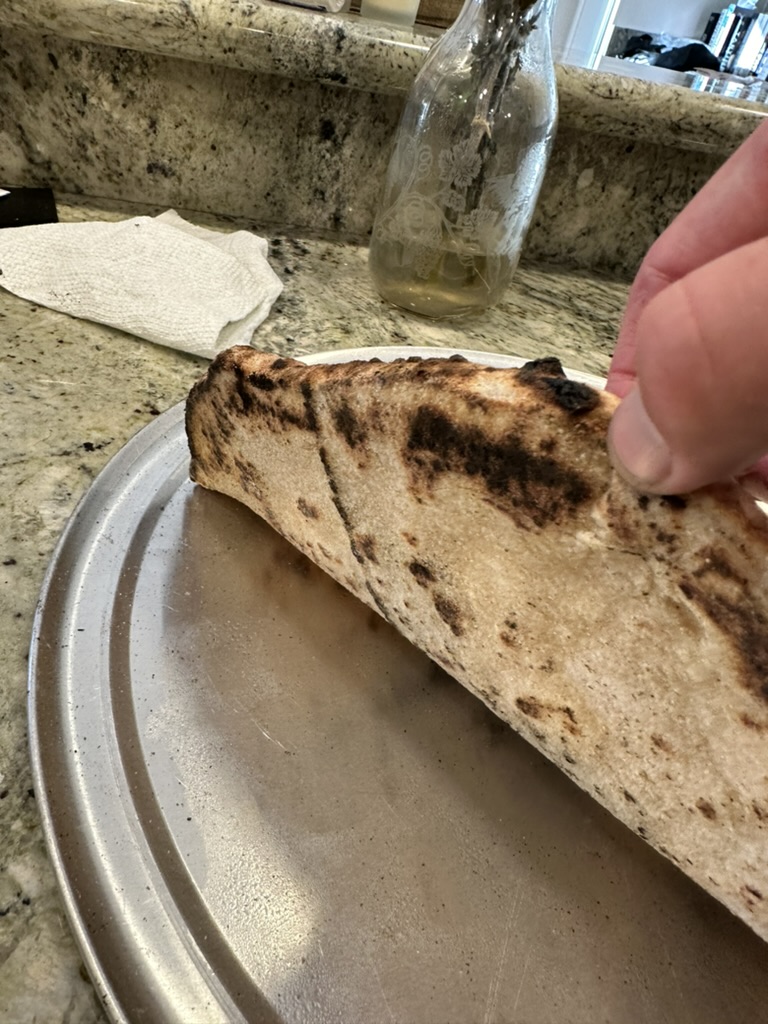
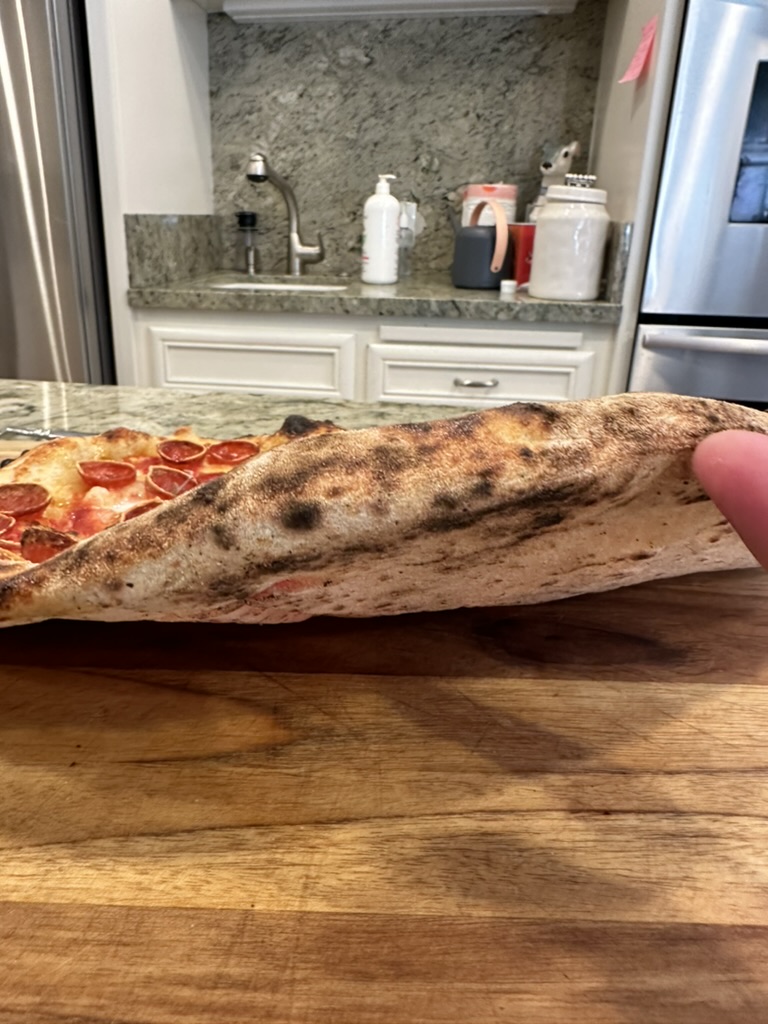
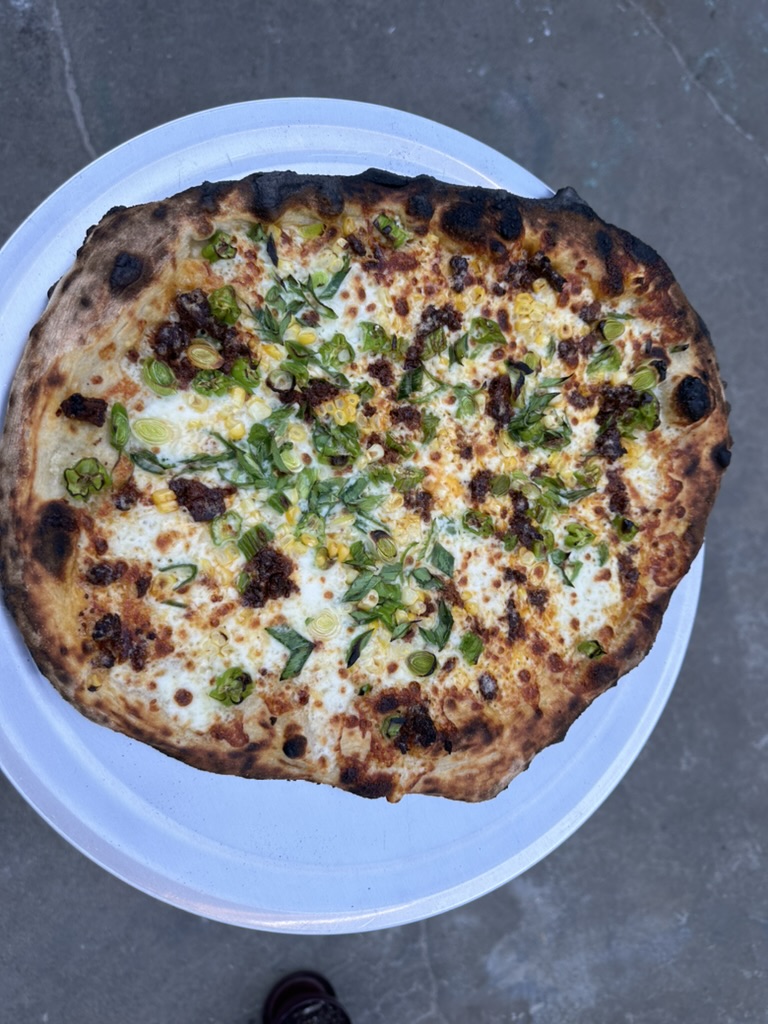
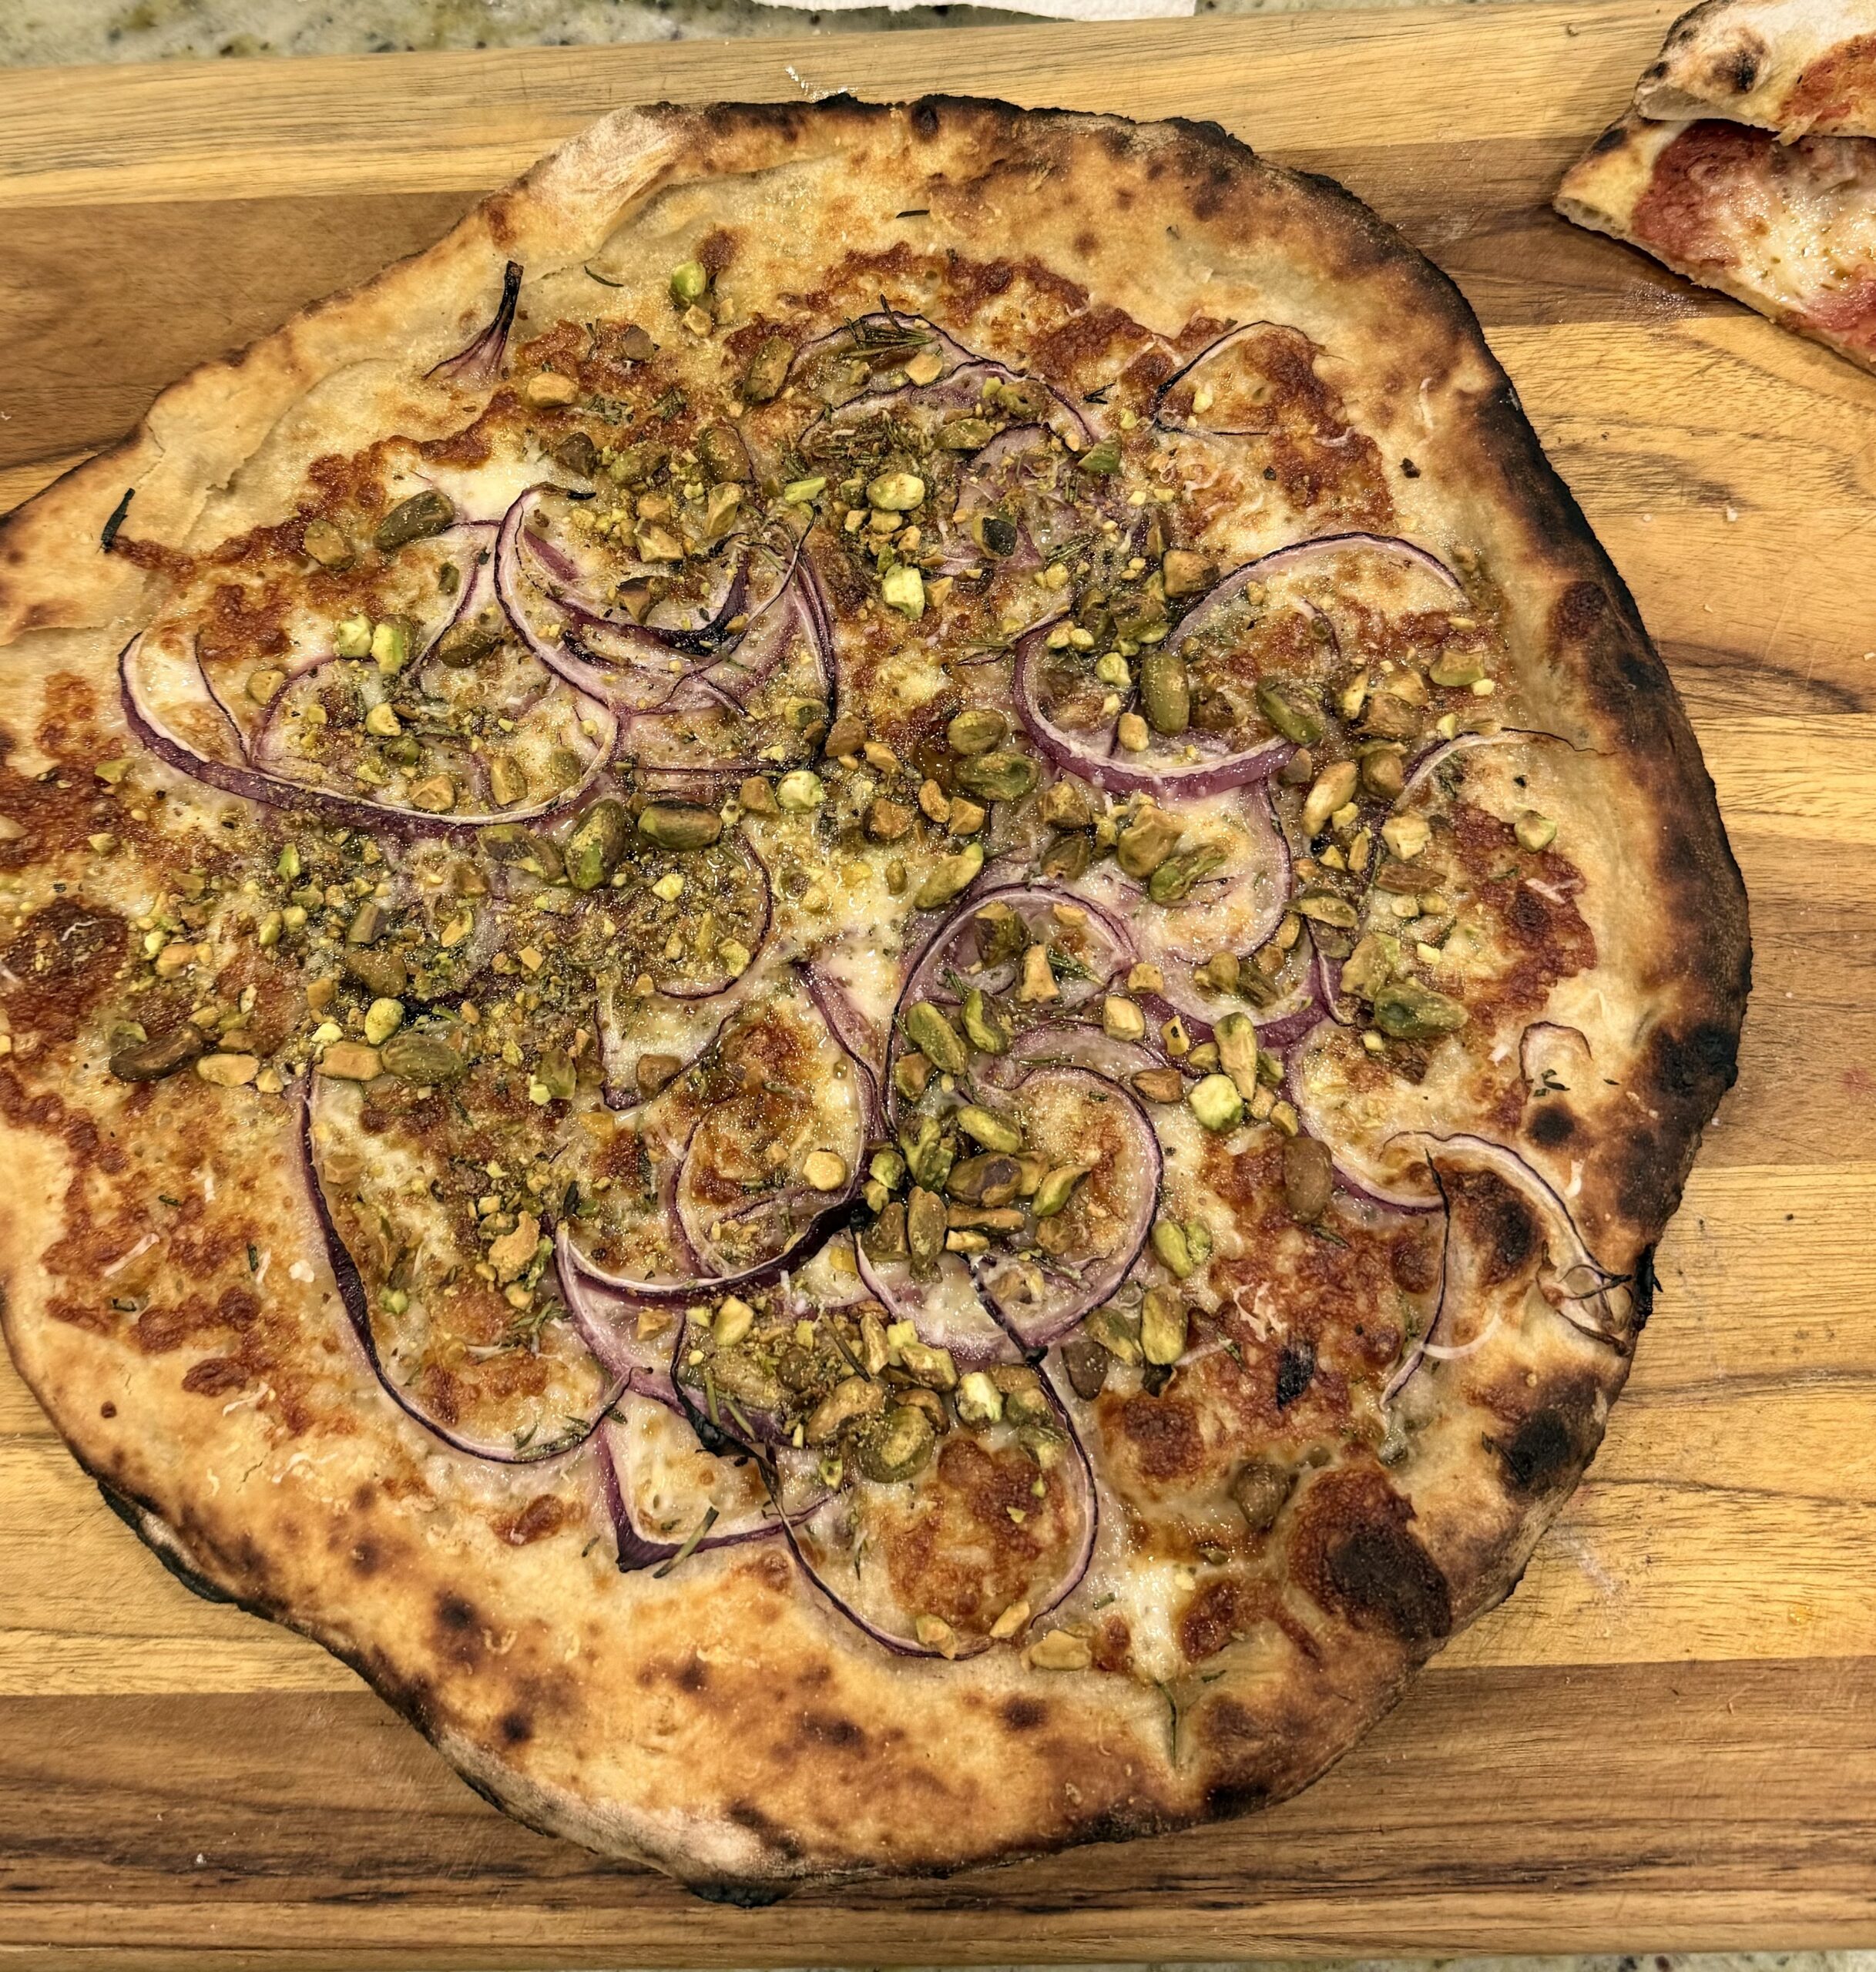
Underside of the pizza — char from the oven floorUpside-down slice — showing the undercarriageCorn, chorizo, scallion, and roasted garlic creamJimmy Nardello and ndujaClassic rosa — pistachio, red onion, rosemary, and parmSausage, Jimmy Nardello, and broccoli raab
Hydration percentage = the percent of water compared to total flour. Example: 100g flour +
60g water = 60% hydration. ↩
Diastatic malt powder aids browning and crust texture. The 1–2g recommended here is typical
for a large batch, but it's optional. ↩
Adjust the number of stretch-and-fold sessions based on how the dough feels — more if it's
slack, fewer if it's already tight. ↩
A wooden peel works best for launching. I use a 60:40 mix of semolina and all-purpose flour
on the peel — semolina doesn't absorb moisture the way AP flour does. ↩